

CleverCompose
CleverCompose is your writing assistant powered by OpenAI (artificial intelligence). OpenAI uses its program ChatGPT, an AI enabled program that that can write (or rewrite) listing descriptions, marketing headings, and social media posts. Forget about writer’s block or fussing over spelling and grammar; CleverCompose does the heavy lifting so you can focus on what matters the most to you.
Compose With Care
CleverCompose draws from ChatGPT’s cutting-edge tech to help you unlock your writing potential. However, ChatGPT remains a work in progress. The tool is simply a guide to help you create content as a starting point for your work. You should still review and fact-check all outputs. We have also provided an AI detection score mechanism to help you write descriptions that aren’t identified as 100% AI supplied. This can help ensure you aren’t penalised in search engine rankings.
Read more on our Blog.
How to Use CleverCompose
Once your account has been set up and we have added the API key that you have been provided from OpenAI, when adding/editing listings you will now have an additional button below the listing Description block, called CleverCompose, as seen to the bottom left in the below screenshot.

On selection of the CleverCompose button, you will be presented with an AI task dropdown menu, an Output block and the Generate button.
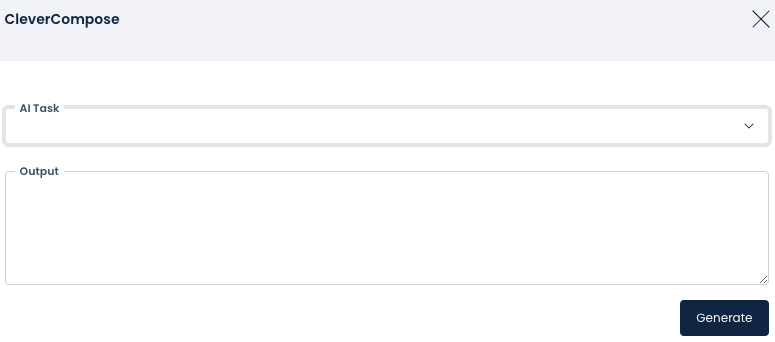
Click on the AI Task dropdown menu, you will be provided with seven AI Tasks that ChatGPT can perform for you. We will discuss each option below.

Create A marketing heading
Complete the listing add/edit form by adding the required and quality fields, these include the listing location, interior and exterior features and a few others. Now click on CleverCompose > Create a marketing heading then Generate, ChatGPT will look at the added fields and provide you with a Marketing Heading.
You can now click on Copy Text, to copy and paste the Marketing Heading into your listing or, an easier option, click on Replace Marketing Heading to have the text created automatically in the field. If you are not 100% happy with the output you can click on Generate again and ChatGPT may provide you with a different version of Marketing Heading.
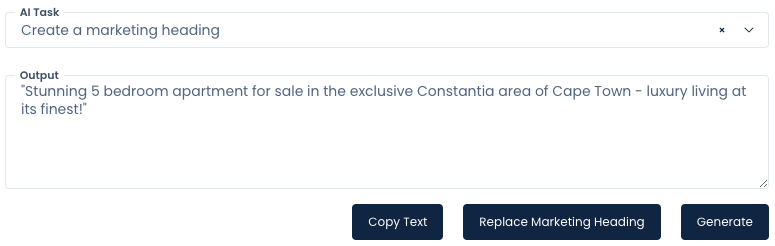
It's is important to remember that the Marketing Heading has a 100 character limitation, while we specify this to ChatGPT when we initiate the API request, you may be provided with more than 100 characters, please edit the heading and ensure the count is 100 characters or less. The system will alert you if you exceed the 100 character limitation.

We have removed the " " , and Cape Town from our Marketing Heading to fall within the character limitation in the below screenshot.

Rewrite my description
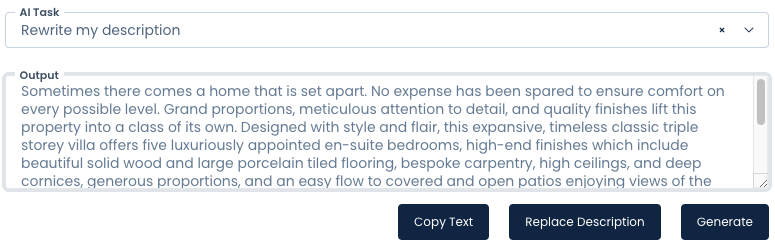
If you are editing a listing or have already added a basic Description while adding a listing, ensure you have populated the listing location, interior and exterior features, click on Rewrite my description and then Generate. ChatGPT will provide you with a revised description that you can now review.
Click on Copy Text, to copy and paste the your new description into your listing or, an easier option, click on Replace Description to have the text created automatically in the field. If you are not 100% happy with the output you can click on Generate again and ChatGPT may provide you with a different version of the listing Description.
Write a Facebook post
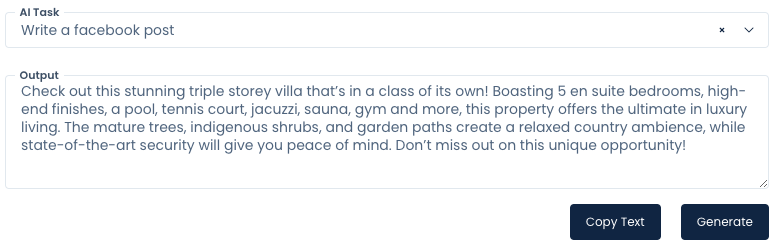
Once your listing has been populated with all details (required field, quality fields and description) you can now generate a Facebook friendly text snippet.
Select Write a Facebook post and then click on Generate. Copy Text will allow you to copy and paste the post to your facebook account.
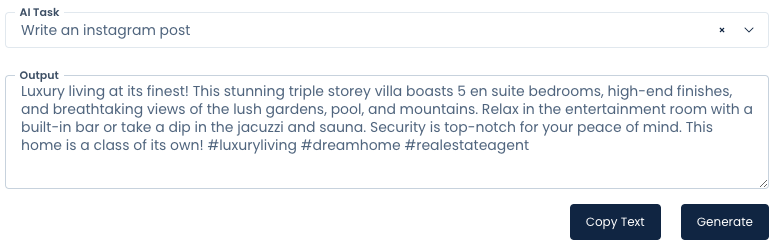
Write an Instagram post
The process is the same as 'Write a Facebook post', however you will now be given an Insta-ready text snippet.
Write a tweet
The process is the same as 'Write a Facebook post', however you will now be given a Twitter ready text snippet. Just add your @'s!

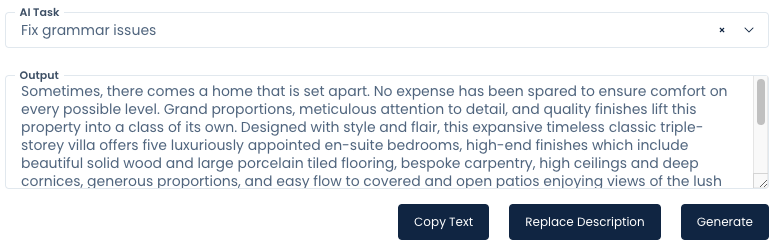
Fix Grammar issues
If you have already written your listing Description. Use this option to check for any grammatical issues within your text. click on Replace Description to have the outputted text overwrite your current listing Description.
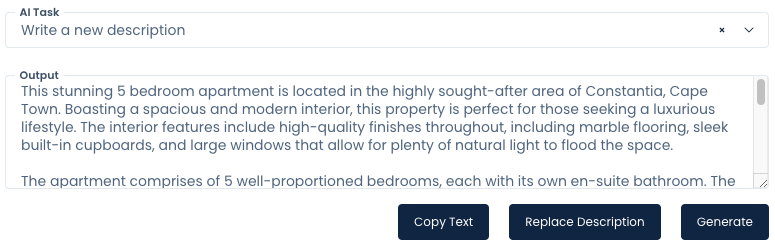
Write a new description
As with "Rewrite my description' above. If you are adding a new listing, ensure you have populated the listing location, interior and exterior features, then click on Write a new description and then Generate. ChatGPT will provide you with a listing description that you can now review.
Click on Copy Text, to copy and paste the description into your listing or, an easier option, click on Replace Description to have the text created automatically in the field. If you are not 100% happy with the output you can click on Generate again and ChatGPT may provide you with a different version of the listing Description.
Remember to thoroughly review every output that you receive from ChatGPT, add and remove text where required.
How to Setup Your ChatGPT (OpenAI) account
Setting up your OpenAI account & payment
Once you have registered with Prop Data for our CleverCompose add-on tool, you will then need to register with OpenAI.
Payment
Prop Data provides an interface with OpenAI however, they do charge per 'call' that is made on their API service, while ChatGPT does provide a free service (individual), this is intended for very limited use and 'calls' made using the free service are queued last and will be delayed due to server load. This is why we suggest creating a paid account with OpenAI.
ChatGPT service (gpt-3.5-turbo) - $0.002 US cents (Between 30 and 40c ZAR, exchange rate dependant) per 1000 tokens. 1000 tokens is roughly the equivalent to 750 words. Read more about usage and fees at OpenAI.
Prop Data strongly suggests that you set up a payment limit (Usage Limits) on your OpenAI account, this will prevent any nasty surprises come the end of the month.
In order to make use of the ChatGPT service, you will need to set up a paid ChatGPT account and securely enter your credit card information for payment - this will need to be done by your branch manager/agency owner/head office. A step by step guide on registering and entering your payment information is listed below.
- Go to https://platform.openai.com/
- Register by entering your details and creating a password. You are also able to signup using your Google or Microsoft account.
- Activate your account by clicking on the activation link sent to your email address from OpenAI.
- Go to https://platform.openai.com/ and login with your OpenAI username and password or continue with Google or Microsoft.
- When you have logged in you will see a screen that looks like this:
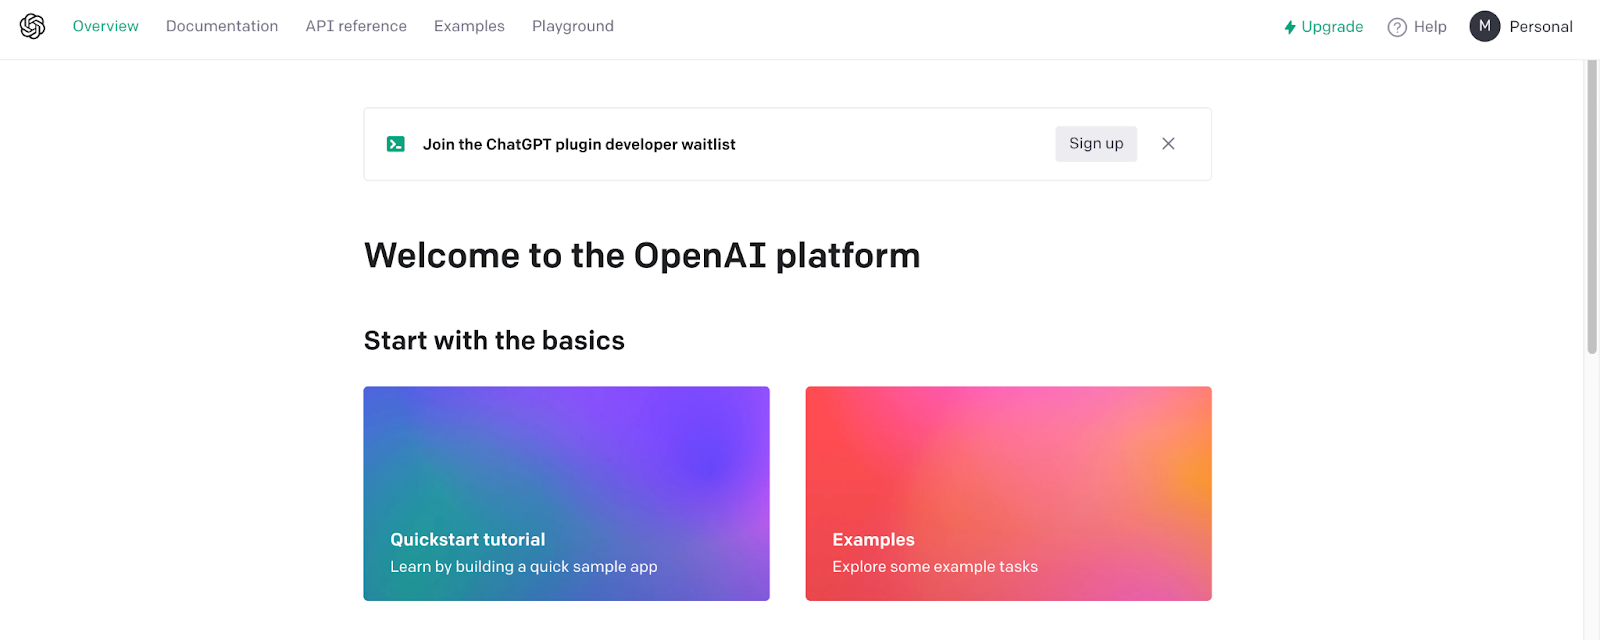
- On this screen, click on your initial/account name on the top right of screen as seen in the below image (M Personal)
- A new menu will appear, click on Manage Account
- Click on Billing
- Click on Set Up Paid Account
- Enter your billing information/credit card details
NB* Ensure that you set up Usage Limits. Your limit can be adjusted as needed. Link to Usage Limits here.
Once you have registered and entered your payment information, you will need to create your API Key and give it to your Prop Data Account Manager.
Section 4
How to create your API Key:
- On the screen described in step 5 above, click on your name on the right hand side of the screen and click on View API Keys.
- A new screen will appear like this:
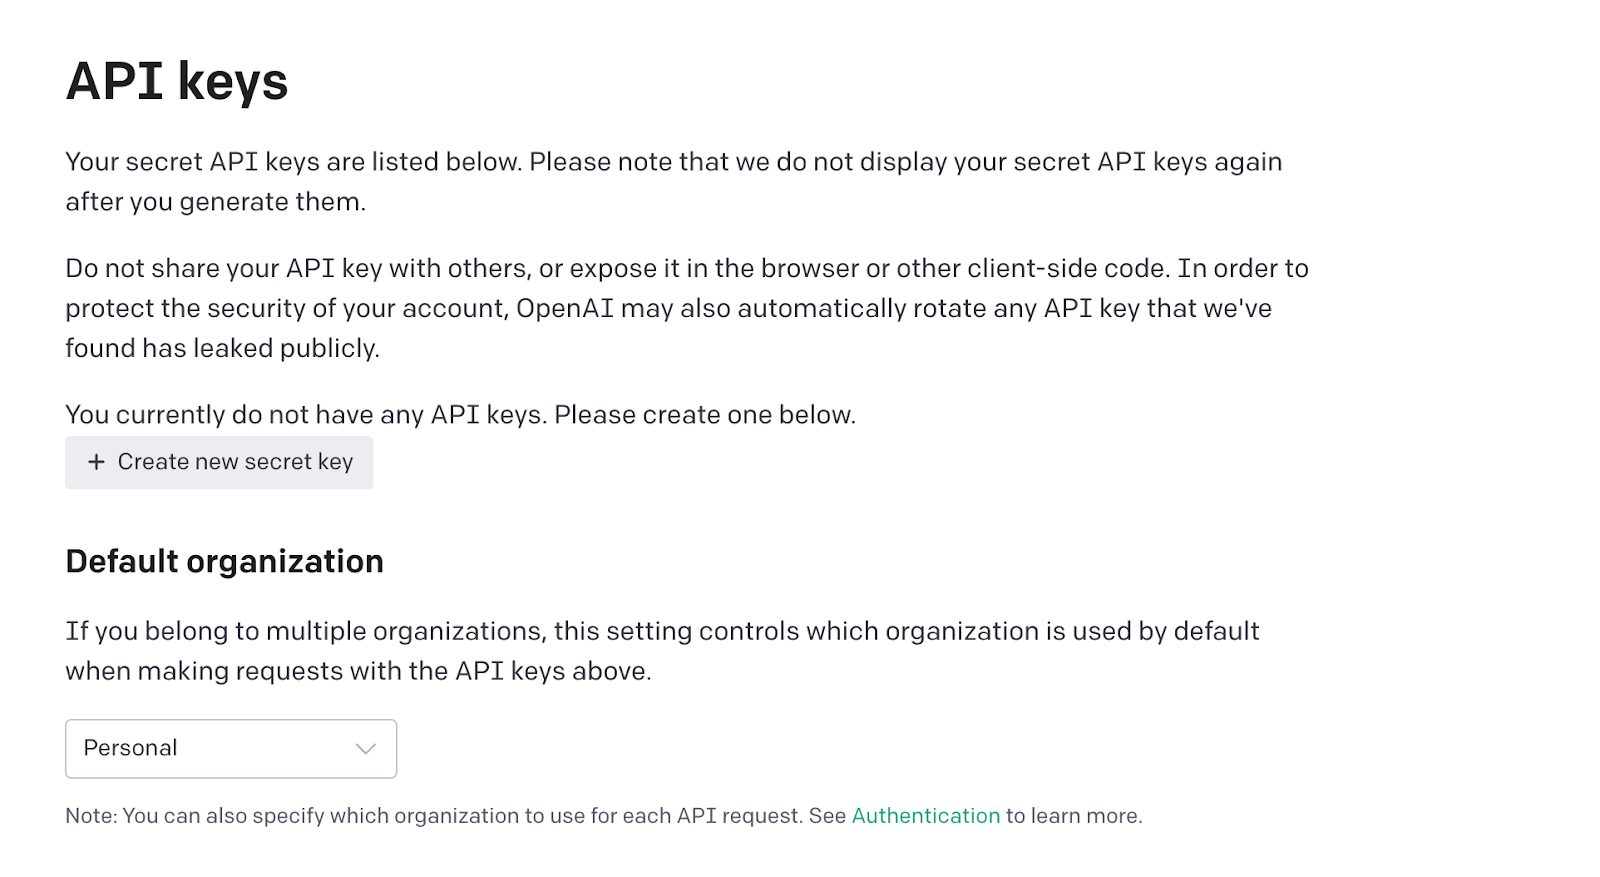
- Click on the + Create new secret key button
- Enter your chosen secret key Name and click on Create Secret Key

- The screen will now display your API key, and will allow you to copy the key. Please copy the API key and paste it into a separate document for safe keeping. You can also return to the above screen to generate new API keys or to review your existing API keys.
Please send the API key to your Prop Data account manager and we complete the rest of the required set up.
API keys can be allocated at a branch level.
For assistance with ChatGPT please see https://help.openai.com/en/
Copyright © 2023 Prop Data (Pty) Ltd Privacy Policy