

User Groups
A User Group is a designated group of Users within a specific branch that have particular user access based on their job function. Branch managers may not want all Users to see all modules. In this case, management can set up specific User groups and pre-determine what access the Users in the group have.
User Groups overview
User Groups explained
In the Company module, we have the User Groups section. User groups are designed to allocate specific employees into. They will have a specific name and be allocated specific user rights based on their function in the company. For example, there may be a user group called ''Agents'' - this group will have specific viewing, editing and listing rights that are set up by their branch administrator. Another User group might be labelled 'branch management' - this group will have broader editing and viewing rights since they are part of the management team.
When accessing the User Groups section, you will first land on the User Groups summary page, which looks like this:
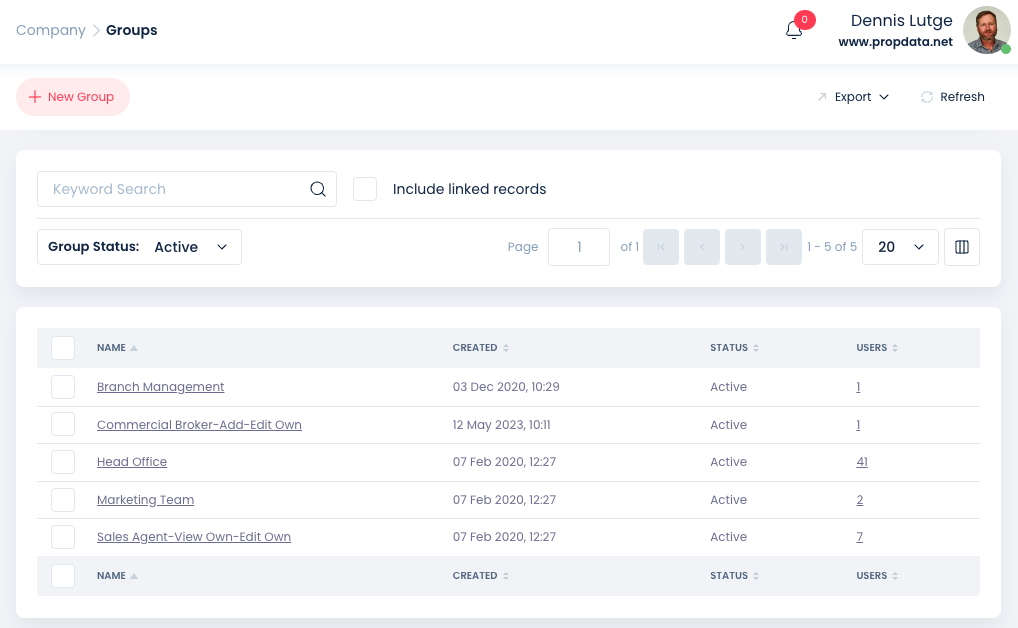
Keyword Search
As with most of the summary pages, you will have your Keyword Search function on the top left, which you can use to search for a particular User Group in your branch. You can also filter your search by using the Status dropdown and selecting either Active or Inactive.
You also have your Column Management function on the far right where you can determine what information you want to add or view on your main summary page. For a detailed guide on Column Management, please refer to the General Functions chapter in the Getting Started module of this Training Guide.
Activity tabs
On the top right of the Listings summary page, you will see two activity tabs, as shown below. These are Refresh and Export.
.png)
Refresh
Clicking Refresh will refresh the summary page with any new User Groups that have been created or any updates made to the current User Groups on the system.
Export
The Export function allows you to download an Excel or PDF version of selected fields or all fields you have selected or you can download a complete summary of all the records on the system. The export tab will open a drop-down, showing the options available, as shown below. Read more about the Export function here.
In order to be able to search for a User Group, you will need to create that User Group first. Let's walk through how to add a new User Group to the system.
How to decide what access to add to your User Group
While most sections and access levels are self explanatory, we will provide more clarity below:
Checkboxes: A checked checkbox means you want the users assign to this group to have access to the selected data. Some checkboxes are reliant on other check boxes and will turn on and off automatically while you allocate access.
All Branches: Only use this check if you want users assigned to this group to have access to all branches data.
View: If you prefer your users to see all listings, contacts, leads and so on you would use this checkbox.
View Own: If You would prefer that members of this user group should only be able to view listings, contacts, leads and so on that belong to them, select the View own checkbox.
Edit: If you prefer your users to be able to edit all listings, contacts, leads and so on you would use this checkbox.
Edit Own: If You would prefer that members of this user group should only be able to edit listings, contacts, leads and so on that belong to them, select the Edit Own checkbox.
View Unassigned: Checking this checkbox will allow users in this group to view unassigned contacts.
View for Associated Contacts: This is an import check, we suggest that this checkbox is checked for Contacts, Leads and Profiles in all user groups. This allows agents to view contacts, leads and profiles that they are associated to.
Update for Associated Contacts: Another important check, should you want members of this group to be able to edit contacts, leads, profiles that they are associated to, you would check this checkbox.
How to add a new User Group
Click on the +New Group button on your top left of the User Group summary page.

You will then be presented with a form to create a new User Group. Now slowly work your way down the form and allocate (check) the checkboxes you would like
Record Details
At the start of the form, under Record Details, you have a checkbox under the Status field that says All Branches. By placing a tick in this checkbox allows the User Group you are creating to get full access to the information from all branches in the group. If you do not want the User Group to have access to all branches then do not tick this box.
Status: Active/Inactive, should you wish to make this group available when allocating access to users, ensure that it is Active.
Name: Provide a unique name for your user group. Use a descriptive name that describes the basic access, see our example below.

How to edit a User Group
To edit a User Group, first find the relevant user group from the main summary page. This can be done using the Keyword Search, described above. Once you have found the relevant user group you want to edit, place a tick in the checkbox to the left of the user group name, as pictured below.
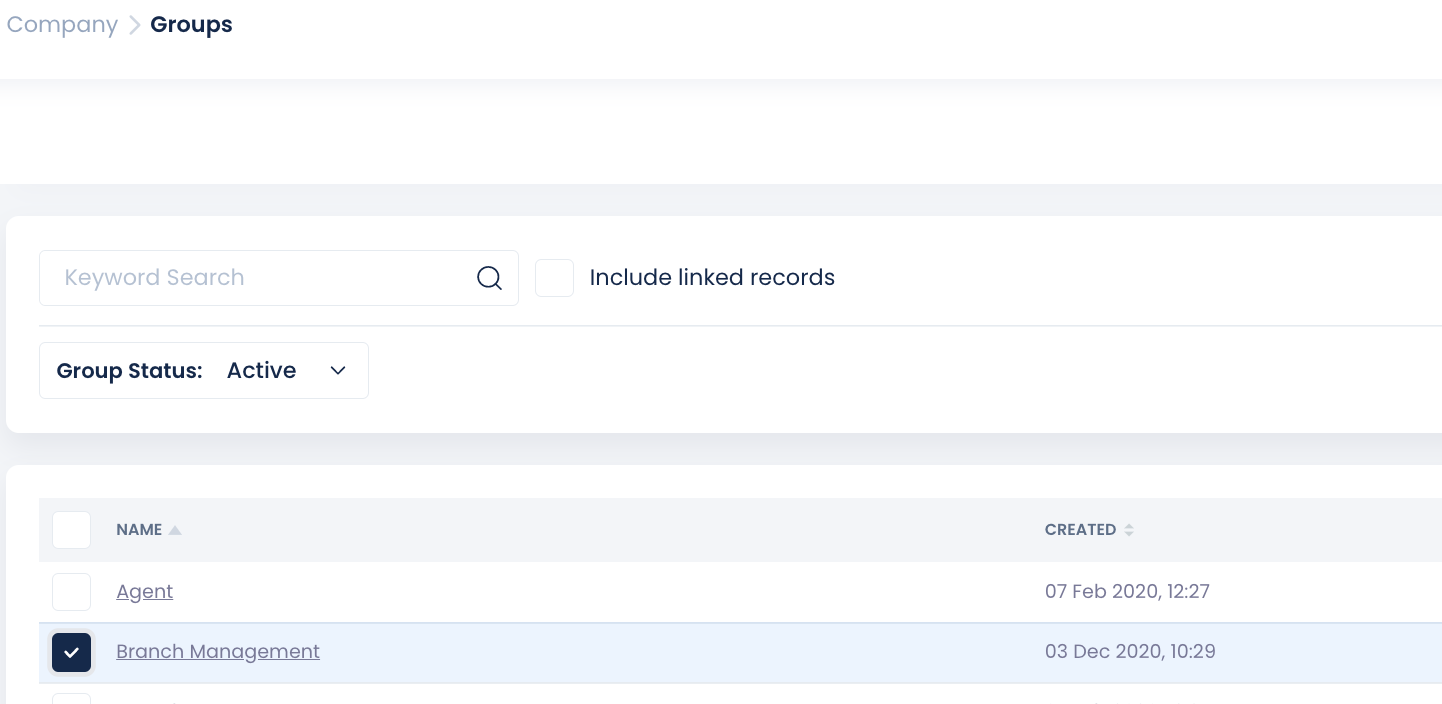
By default, the system will provide basic user groups. Once you have selected the relevant User Group you wish to edit, you will see a new menu pop up to the top left of your screen, shown below. From this menu, click on the Edit button which will then bring up an edit form. The edit form will be the same form as the one used to create a new user group.

Copyright © 2023 Prop Data (Pty) Ltd Privacy Policy