

Franchises
In this chapter, we will discover the Franchise section. The Franchise section is part of the Company module and may not be accessible to everyone on the system. User access to the Company module and Franchise section will depend on your User Group permission.
Franchises Overview
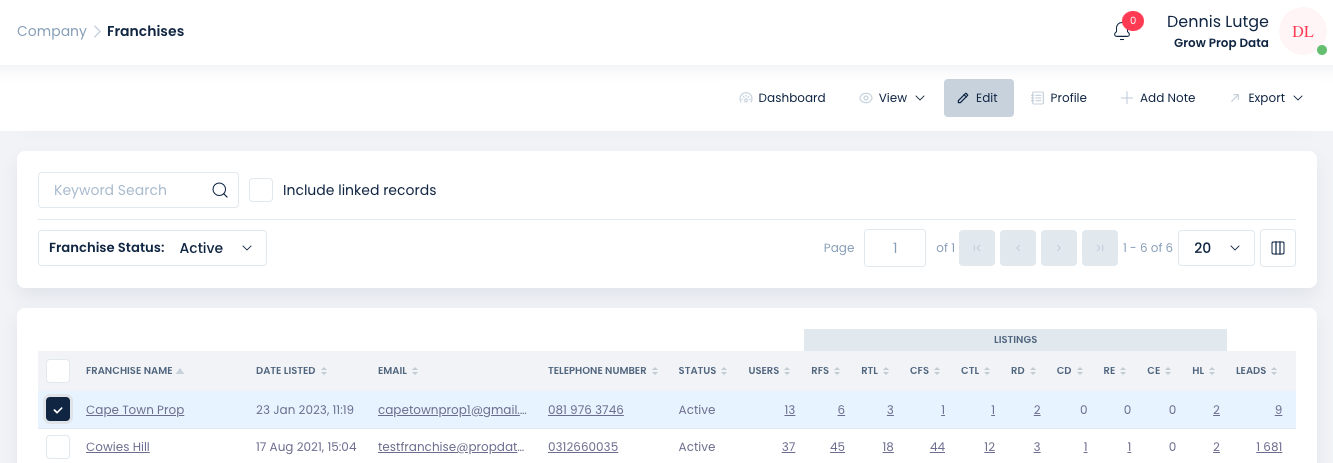
The image shown below, is an overview of all Franchises within a specific company. Additionally, you can view the detail pertaining to each Franchise - the name, date added to the system, contact information and how many listings are under each franchise, categorised by listing type (residential for sale, commercial for sale etc). You will also see all leads, profiles and mailing lists for each franchise.

Keyword search
On the top left you will see the Keyword Search bar (pictured below). Here you can search for any Franchise with a Franchise name, division, branch name or telephone number. You can also filter your search by using the Status dropdown and selecting either Active or Inactive.
Activity tabs
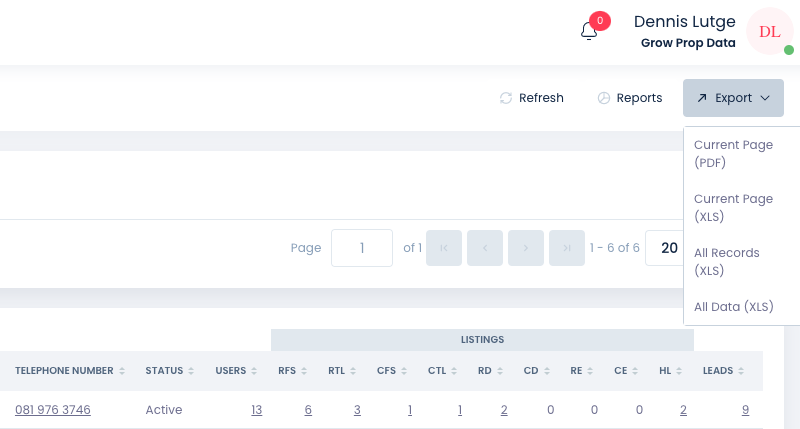
On the top right of the Listings summary page, you will see three activity tabs, as shown below. These are Refresh, Reports and Export.

Refresh
Clicking Refresh will refresh the summary page with any new Franchises that have been created or any updates made to Franchises.
Reports
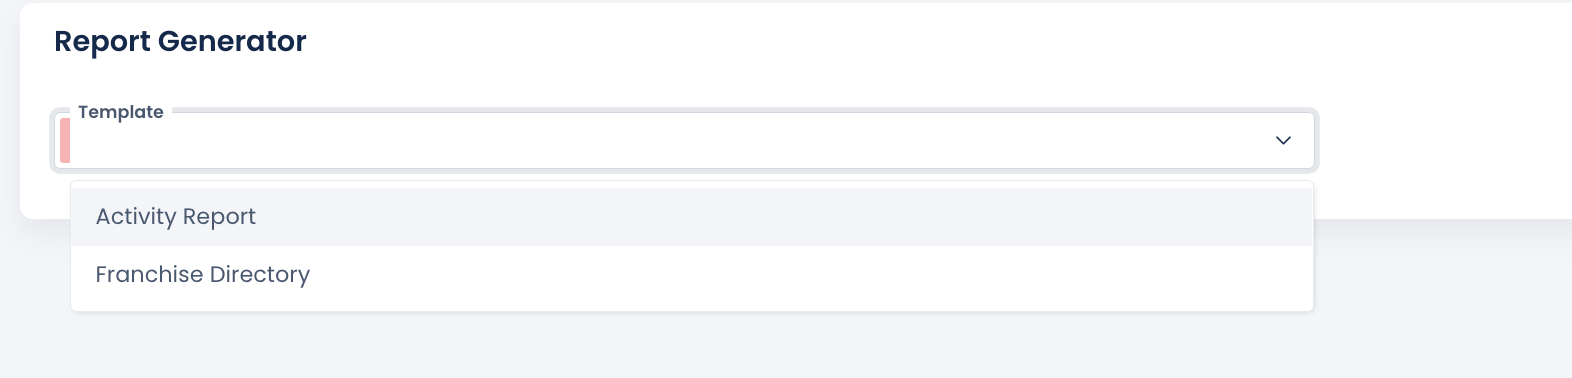
Clicking Reports will allow you to generate an Activity or Franchise directory report. When you click on Reports, a new form will open up, as shown below. From this dropdown, select the report you wish to download.
Export
The Export function allows you to download an Excel or PDF version of selected fields or all fields you have selected or you can download a complete summary of all the records on the system. The export tab will open a drop-down, showing the options available, as shown below. Read more about the Export function here.
How to add a new Franchise
To add a new Franchise, click on New Franchise from the Franchise summary page:
.png)
Next, complete the form that follows with all your new franchise details:
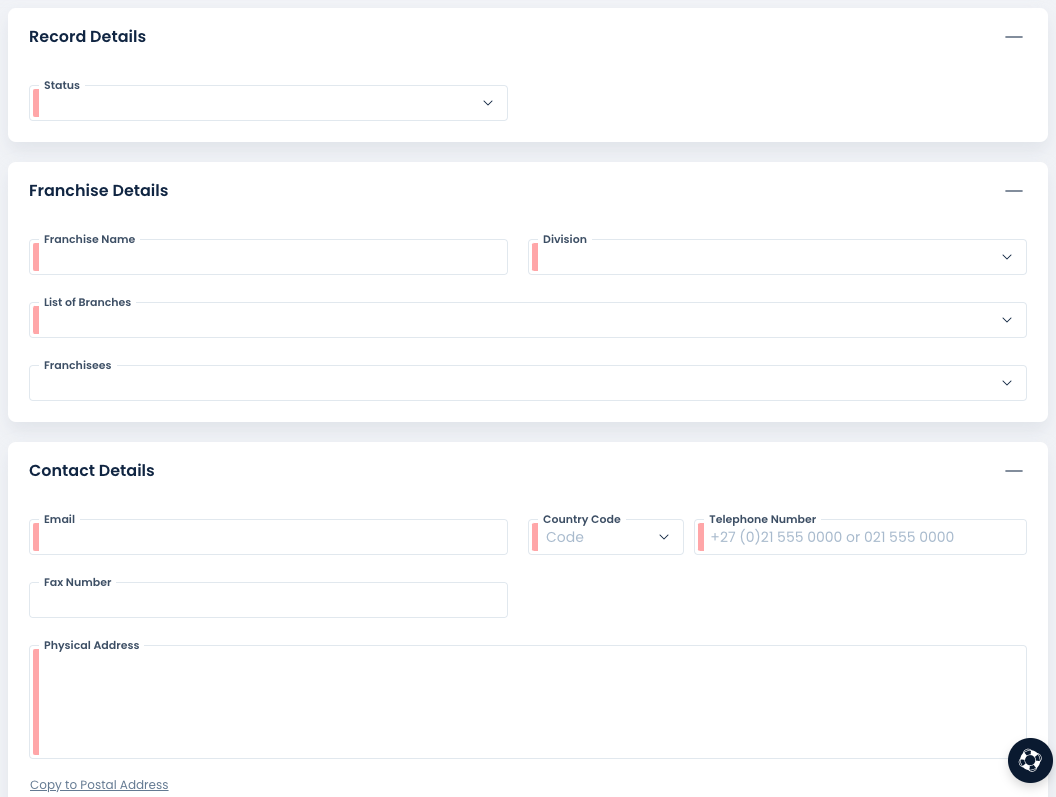
Status: Use either Active or Inactive from the dropdown menu.
Franchise Name: This may be the company name or the trading name. However you can call the franchise any name that will make sense in your companies context.
Division: Depending on how your company is structured, you may have geographical divisions or divisions based on territory. To create a new Division, simply type the name of the division and click on Create. See image below:

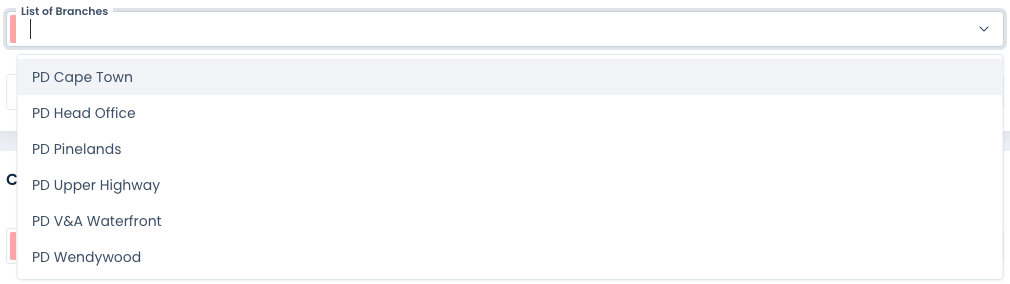
List of Branches: Ensure that the branch/es that belong to the franchise have been created beforehand. Select the relevant branch/es from the dropdown menu.
Complete the Email, Country Code (ZA for the RSA), Telephone Number and Address required fields.
Region: Specify the Region the franchise falls under, here again you can create a new region by type the required name into the Region
remember to save your Franchise by clicking on the Save Franchise button.

There are also additional social media fields that enable you to link the specific franchise social accounts, as shown below. These are not required fields but would be beneficial.
.png)
Documents
Here you can upload any documents relevant to the Franchise. Note that only users with access to view franchise on their user group will have access to these documents.
.png)
How to edit an existing Franchise
Should you wish to edit information on a specific franchise, you will first need to find the Franchise. You can do this by using the Keyword Search function on the summary page. Once you have found the Franchise, select it by placing a tick in the check box to the left of the Franchise name, as shown below.
When you have selected the Franchise, a new menu will appear on the top right corner that looks like this:

The Edit button is where you will go should you want to edit any Franchise information.
When selecting Edit, a new form will appear, shown below. From here, you are able to edit all information on the Franchise. When you are done, remember to click the Save Franchise button on the top right of the form.
Note: all of our add and edit forms are exactly the same to keep things simple
.png)
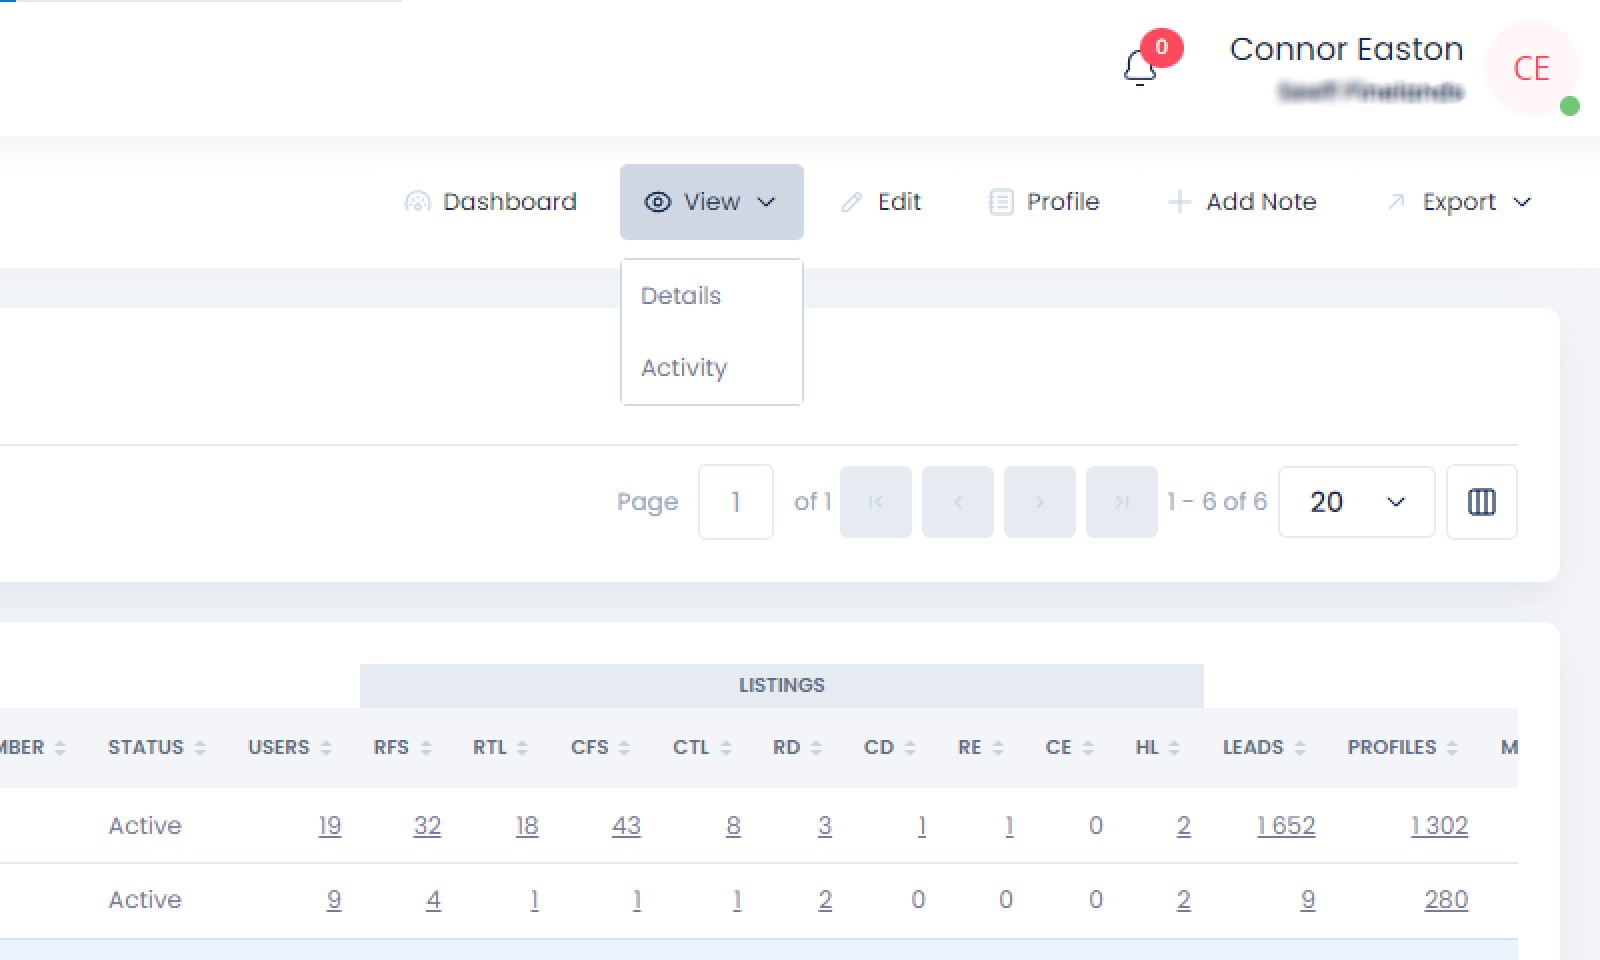
View
When clicking on the View drop-down, you will be able to choose to view either the Details or the Activity on the specific Franchise you have selected
The Franchise Dashboard
On selecting a Franchise, the following additional options can then be selected from the menu, shown below. First of which, is the Dashboard.
.png)
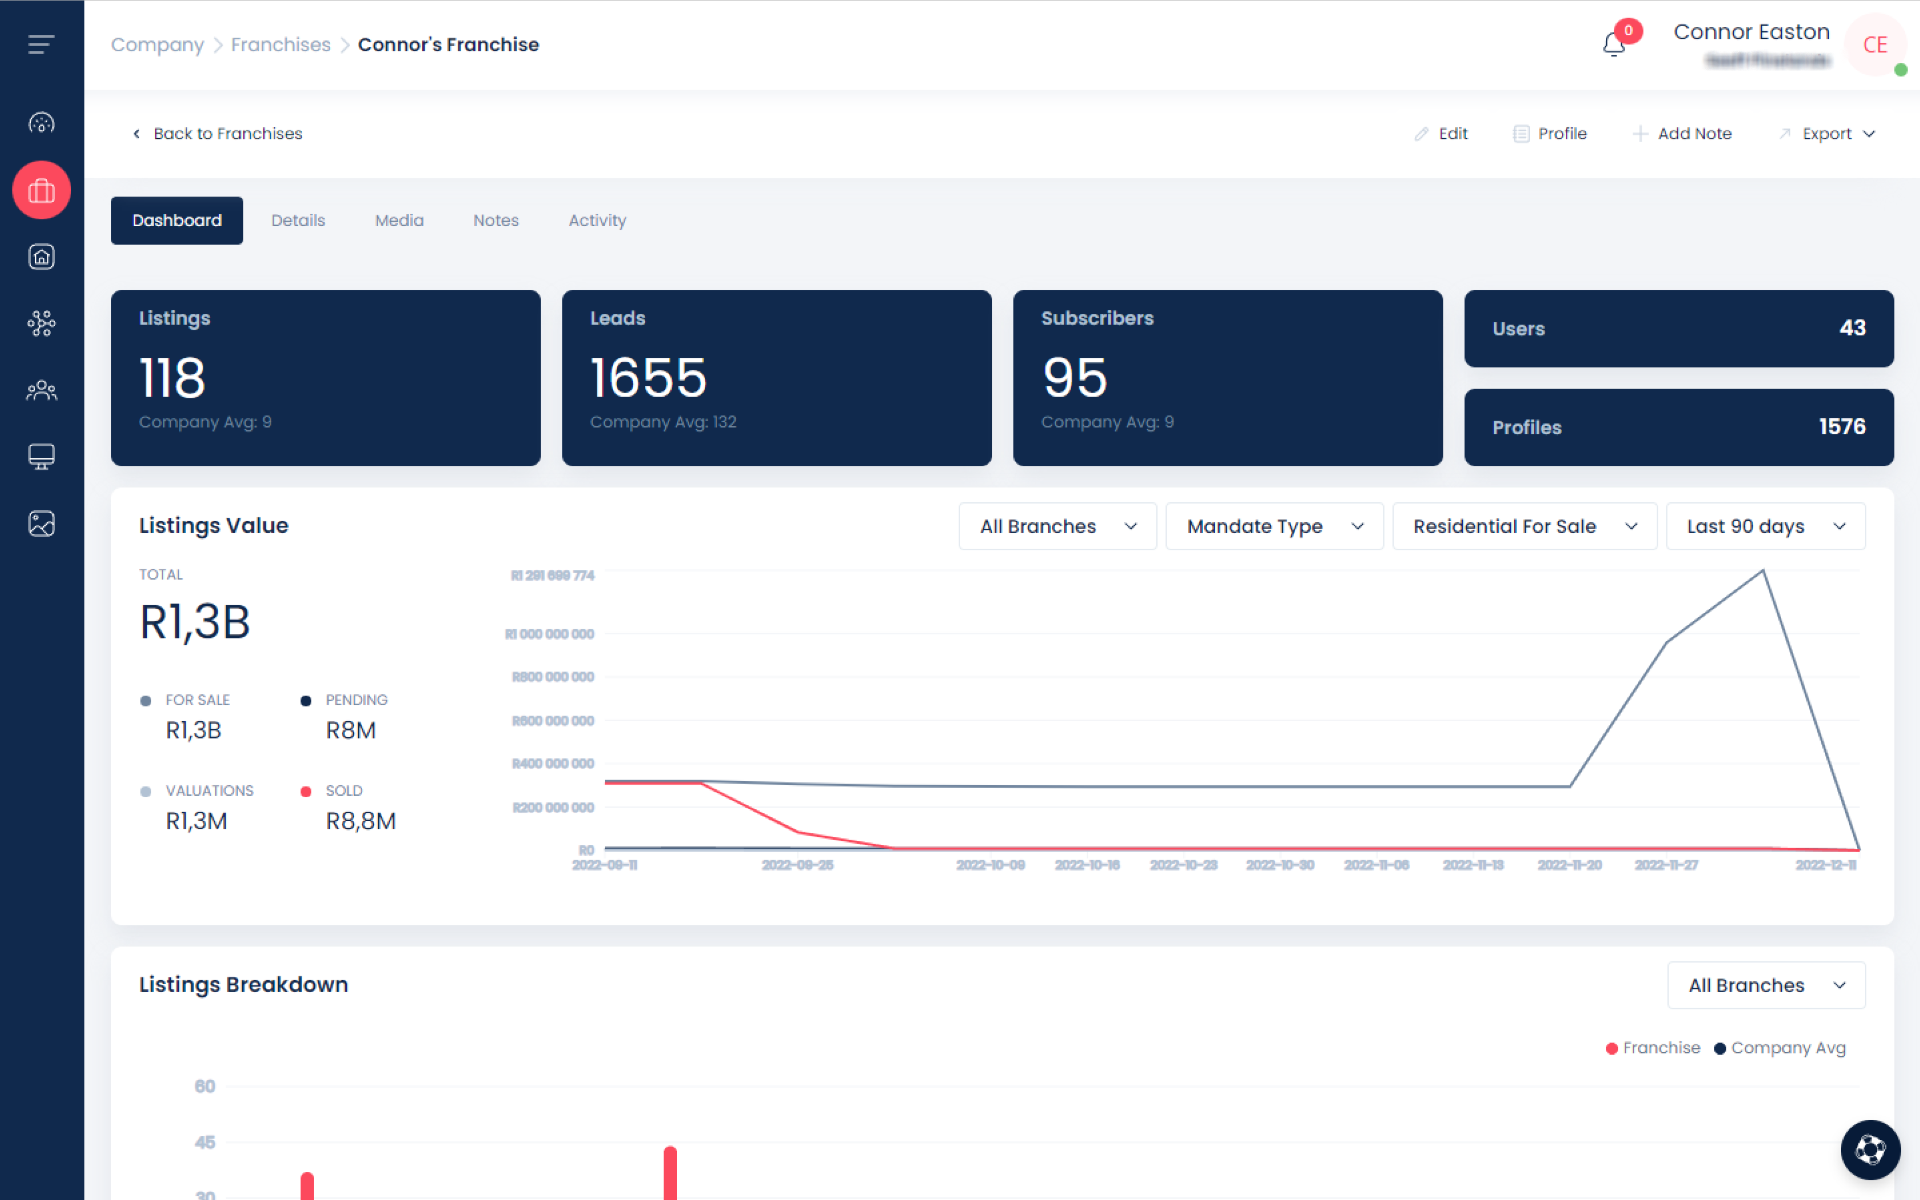
The Dashboard will give you an overview of the specific Franchise you have selected, as shown here:
Listings breakdown
From the Dashboard view you can see the number of listings belonging to that specific Franchise, the total number of Leads generated for that Franchise, total number of Subscribers, Users and Profiles.
Below that, you will see an overview of all the listings belonging to that Franchise, with a Rand value. The listings are split into For Sale, Under Offer/Pending, Valuations and Sold. All are represented on the graph to the right. You are also able to filter the Listing Value view by mandate type, listing type (Residential, Commercial etc) and filter by time.
Below the Listings Value, you can also see a breakdown of the number of listings belonging to that Franchise. This is shown according to both the specific branch vs the company average i.e how many listings the branch owns vs the average number of listings owned by the entire group.
.png)
Top agents
Below the listings breakdown, you will be able to see an overview of the Franchises Top Agents. You can also view the total sales per agent and the total sales value, as well as what branch each Agent belongs. You can filter all these options according to listing type i.e Residential For Sale/To Let and Commercial For Sale/To Let. To do this, use the drop down filter on the far right of the block.
.png)
Leads and stock
Below the Agents section on the Dashboard, you will find a Lead and Stock summary:
.png)
Here you can see:
Lead source - Use the dropdown to select the agent who's Leads you wish to view. You can also filter this further by selecting the Lead status i.e Active/Non-compliant etc and you can filter by date and specify the branch. The Leads you view will show based on which portal/website they are sourced from, which will show in the round circle.
Lead Status - This can also be filtered according to Agent. Select the Agent who's Leads you wish to view and it will show the amount of Leads by their status i.e Active/Inactive etc.
Stock - This is an overall view of all the stock belonging to the specific franchise and you can filter this by Agent and Listing Type using the drop-downs.
Alerts Sent - This is an overview of all the alerts and type of alerts sent to potential leads via a specific Agent. Use the dropdown to select the Agent and you will see all Alerts Sent, which are categorised according to Manual alerts (alerts sent manually from the system by the Agent), New Listing alerts sent from the system to matching profiles, Price Reduced alerts sent to Leads and On Show alerts sent to specific profile matches on the system.
Below the above summary are all the contact details pertaining to the specific Franchise you have selected.
Franchise Record Tabs
Details - Is a simple view of all the specifics pertaining to the Franchise such as contact information, address etc. On the details page, you also have another menu on that will appear on the top left that looks like this:
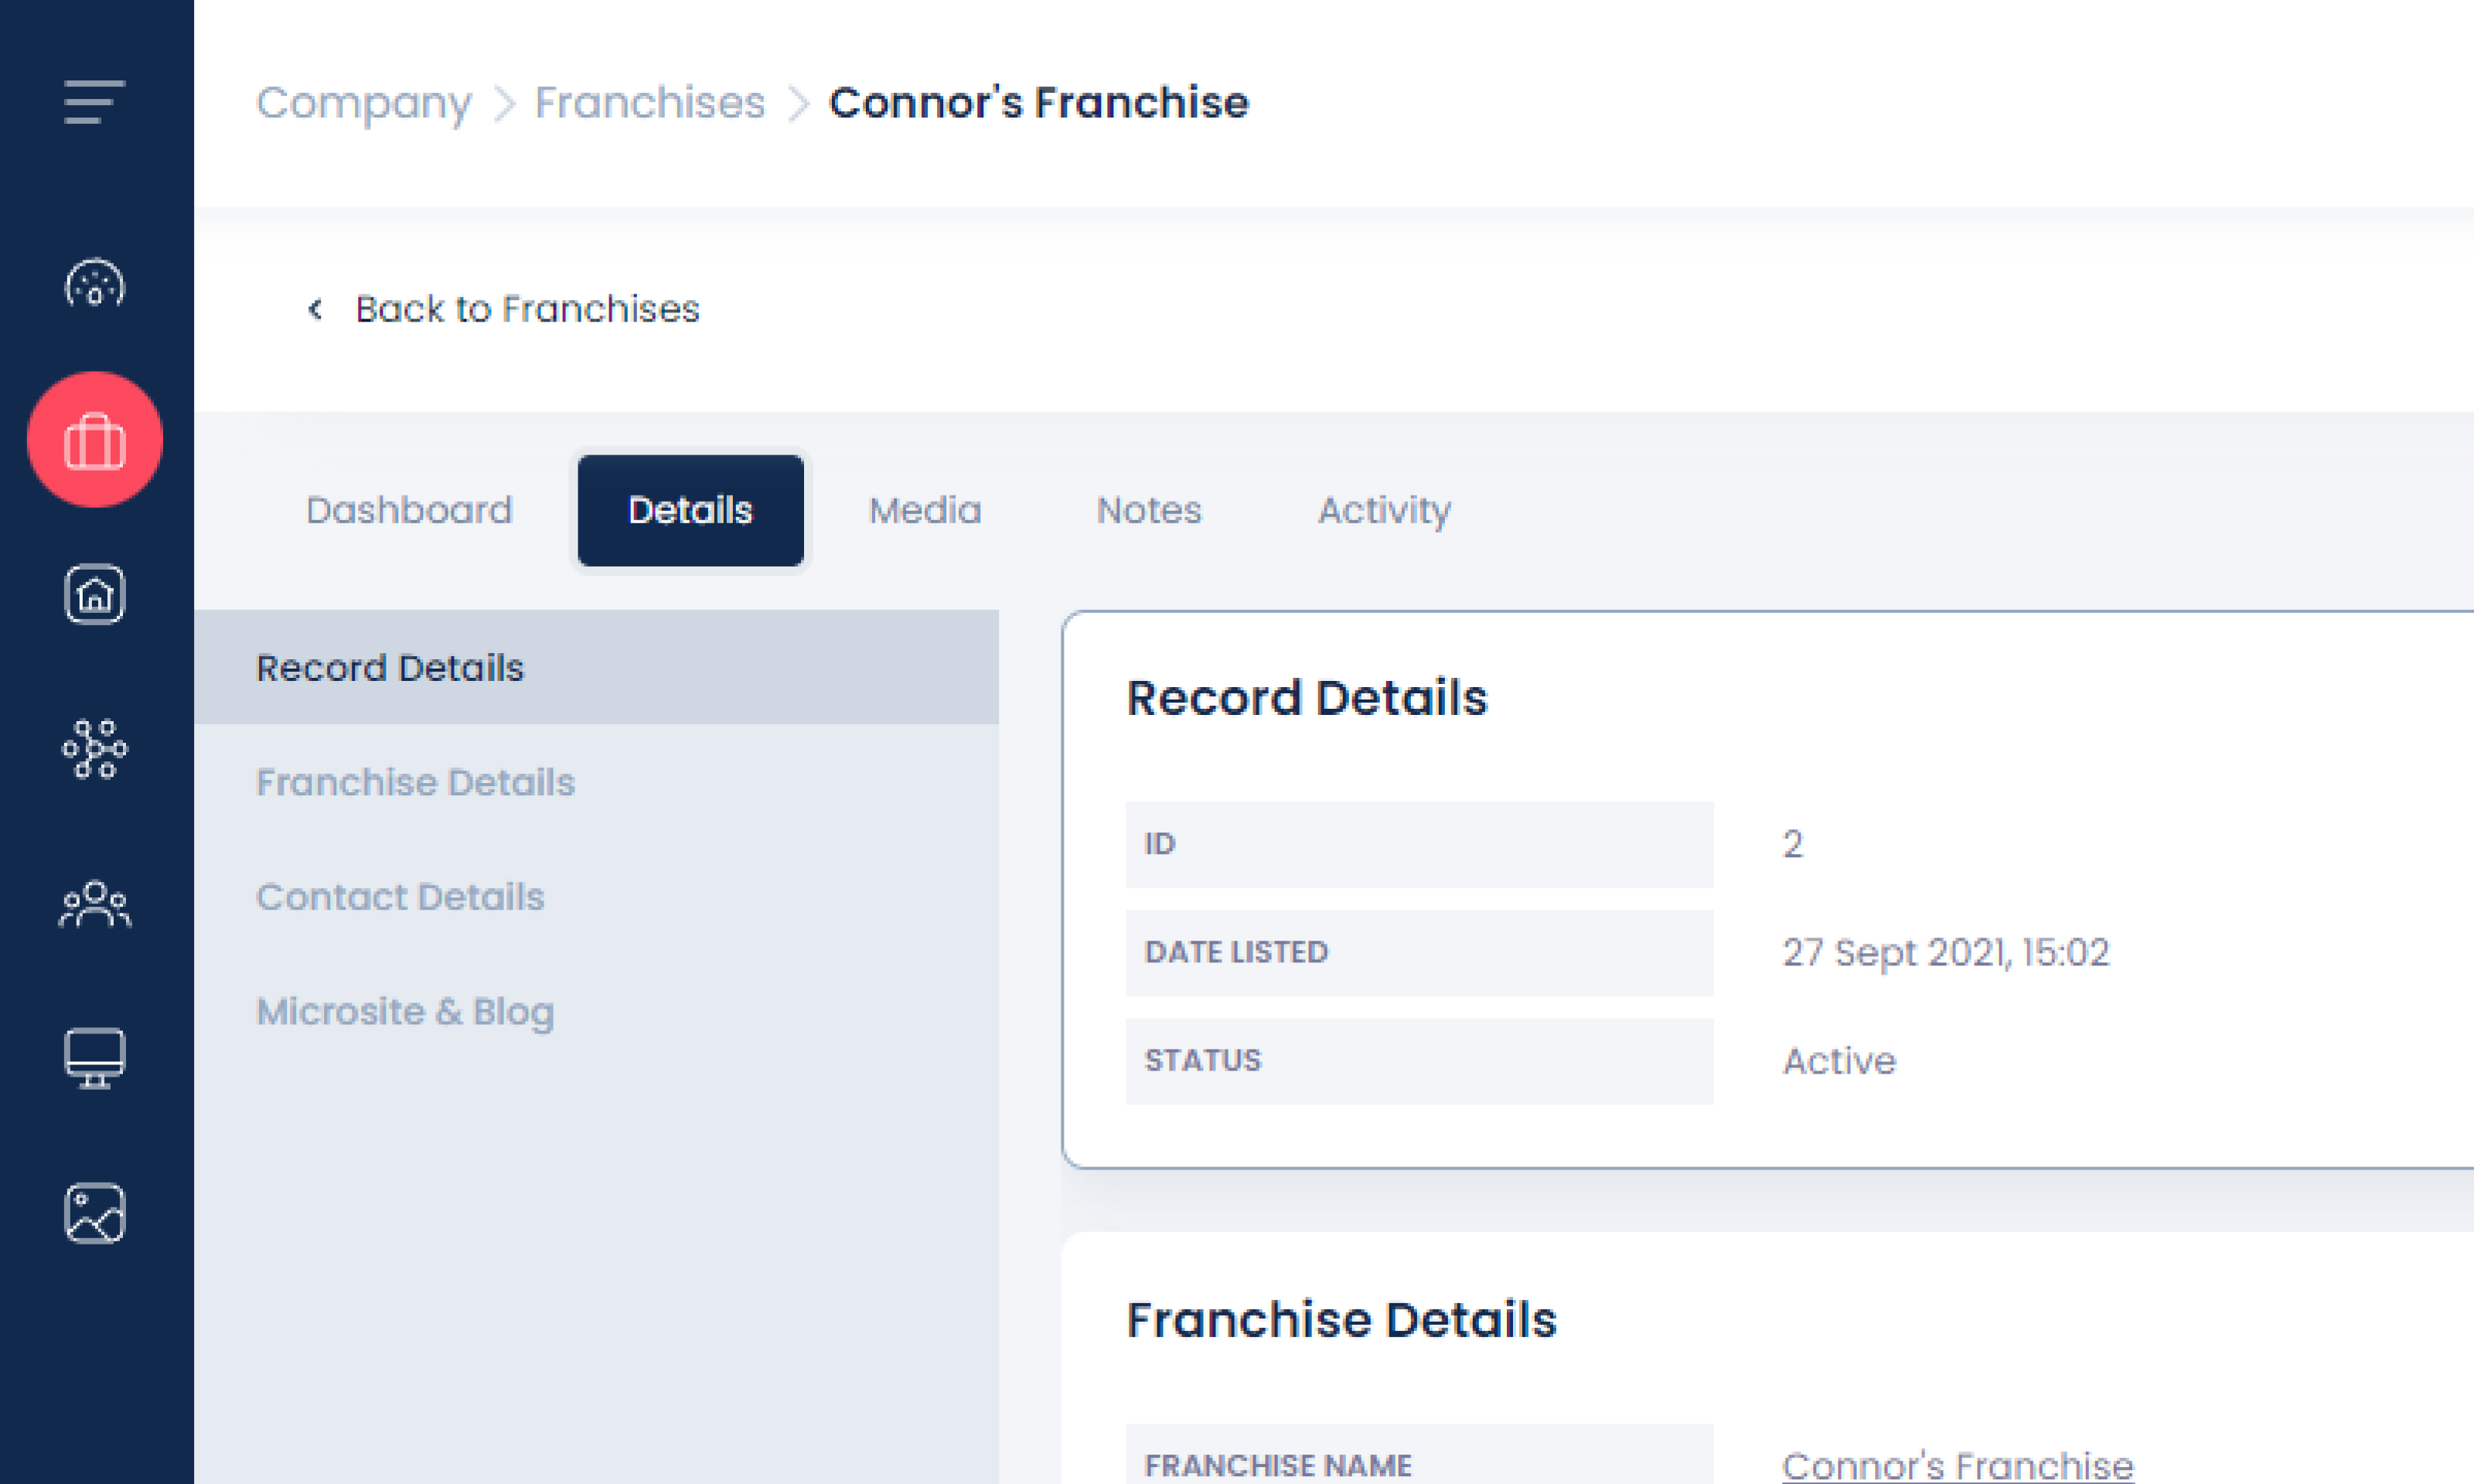
From this menu, you can once again go back to view the Dashboard, or proceed to view either Media, Notes or Activity.
Media - shows any important documents related to that franchise. You can also add documents by clicking on Add Some Now.
Notes - elate to any kind of Notes about the franchise that may have been added by Management.
Activity - shows all activity and updates made to the Franchise information. It shows when the update was made and by whom.
Profile
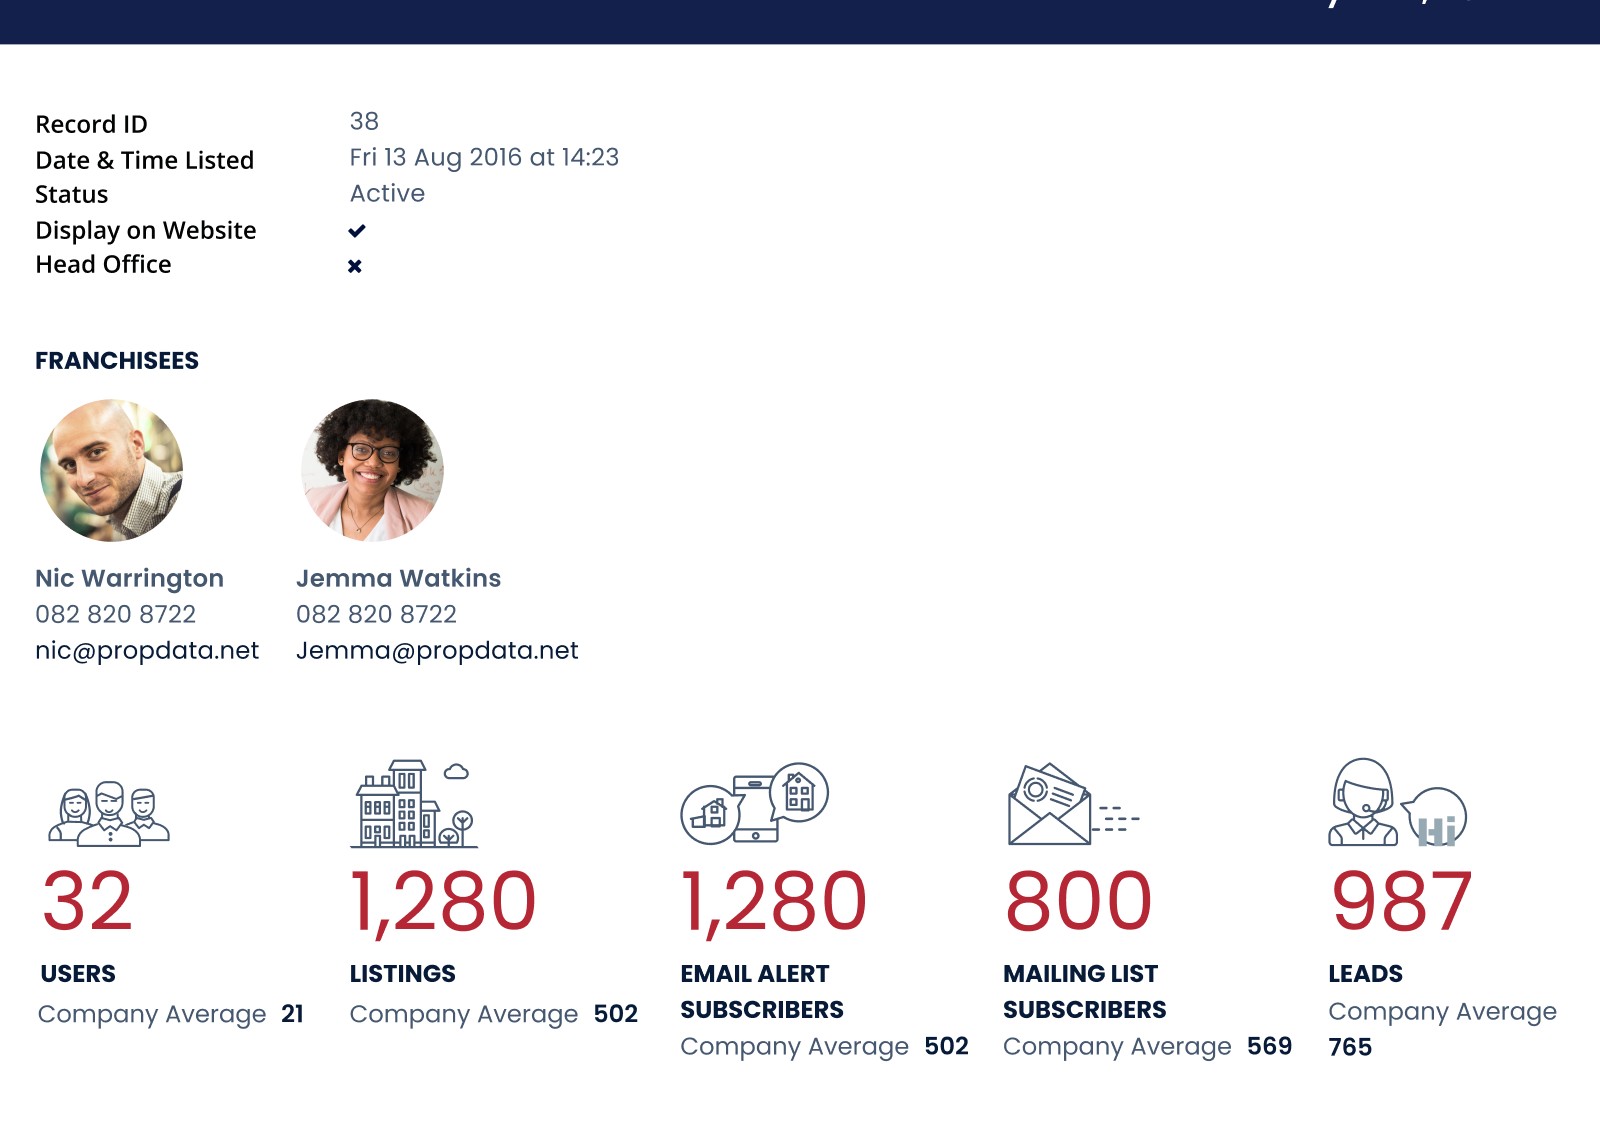
A great feature you can use is the Profile button, which generates a downloadable PDF overview of the Franchise you have selected. The Profile button appears next to the Edit button, pictured above. Should you wish to download the full profile PDF of a Franchise, simply click Profile and a PDF download will begin automatically. You will know when you PDF is ready when you see a notification appear next to the Notification bell on the top left of the page.
A typical Profile download is 2 pages and will look similar to the image below. It will contain a Listings breakdown, Leads overview, Users and Subscribers. It will show the date and time the Franchise was listed and on the system and on page 2 of your download you will see all the contact information.
Add Note
Using this feature allows you to add any notes to the system about the Franchise. You can find more on adding notes under the General Functions module here.
Copyright © 2023 Prop Data (Pty) Ltd Privacy Policy