

Contacts
A contact is the basic information the system stores on a specific client. Consider your contact summary page as your address book. It contains a list of ALL contacts on the system, active and inactive.
Contacts Overview
A contact is the basic information the system stores on a specific client. Consider your contact summary page as your address book. It contains a list of ALL contacts on the system, active, non-compliant, no consent and inactive. Remember to use the status drop-down to access the additional statuses.
A contact can be added onto the system in two ways - either manually by a system user or automatically by the system. The system will generate a contact record automatically if a client makes an enquiry on one of the property portals or via your Prop Data website listing forms, branch contact form or any specific custom forms you may have on your website. The enquiry will either be pertaining to a specific property, or it will be a general enquiry. When an enquiry relates to a specific property, that contact will now have a lead record created and associated with them.
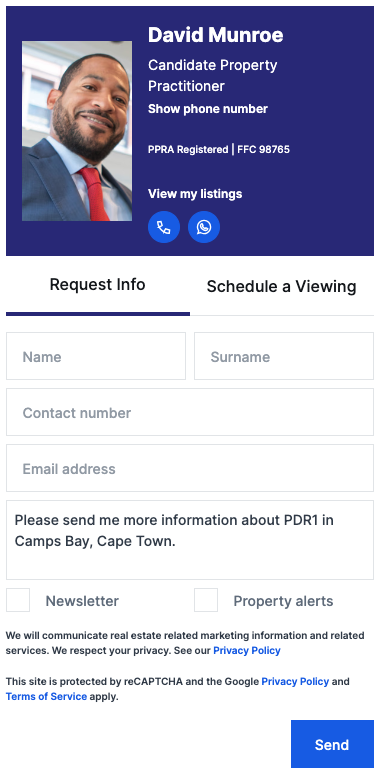
A note on leads vs contacts: a lead is not the same as a contact. A lead is usually generated by the system if a contact makes an enquiry on a specific property via an online contact form. Contact forms on your Prop Data website and the portals have the same basic fields. Name, number, email address, message and alert signups, as can be seen in the below image from a Prop Data website. The previously mentioned fields are all that are required for the system to create a contact record on the system. A privacy policy statement will always accompany a form in terms of POPIA regulations.
So in summary, the Contact is the basic information which the client would leave you when completing the listing enquiry form, namely: their name, email address and contact number. The Lead is the “record” of the enquiry that the contact made on that specific listing only. Read more about leads here.
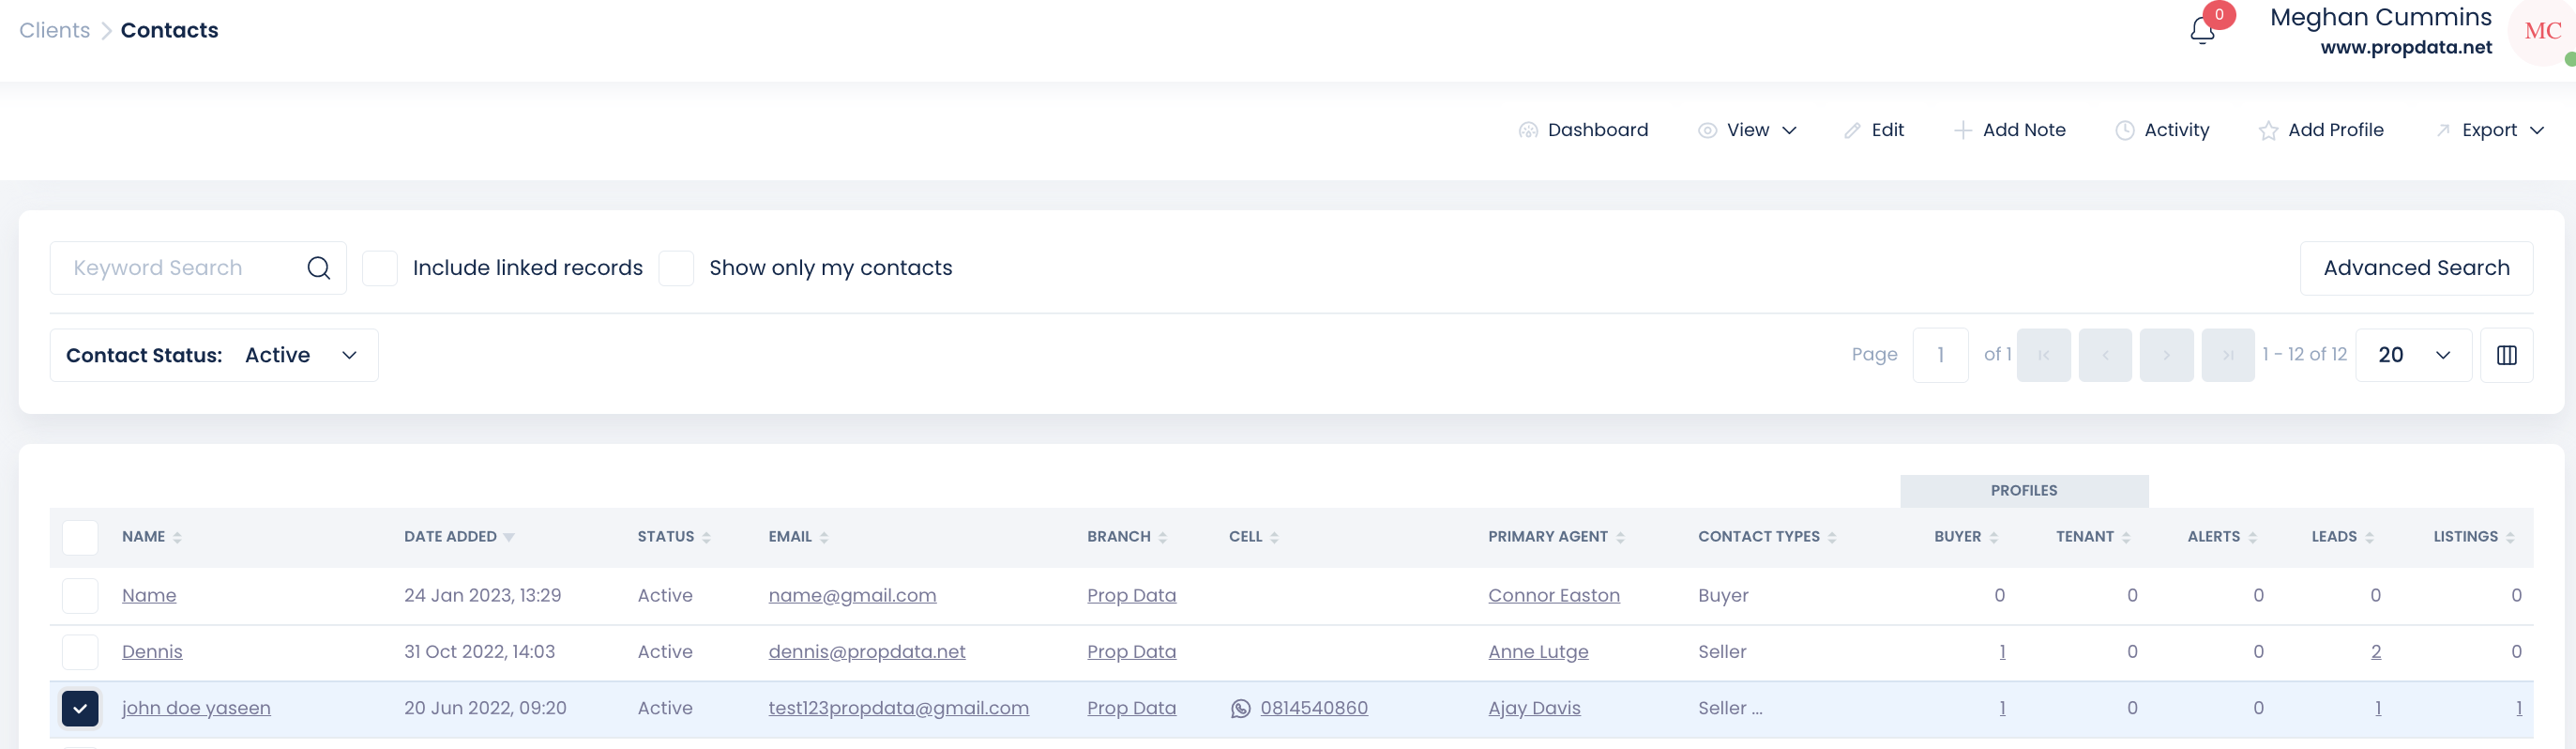
Your contacts summary page (pictured below) contains an overview of the information pertaining to your contact such as: Their name, the date they were added as a contact, their POPIA status (default status is Active), there cellphone number, the agent that "owns" the contact and the various profiles and leads that may be associated to the contact.
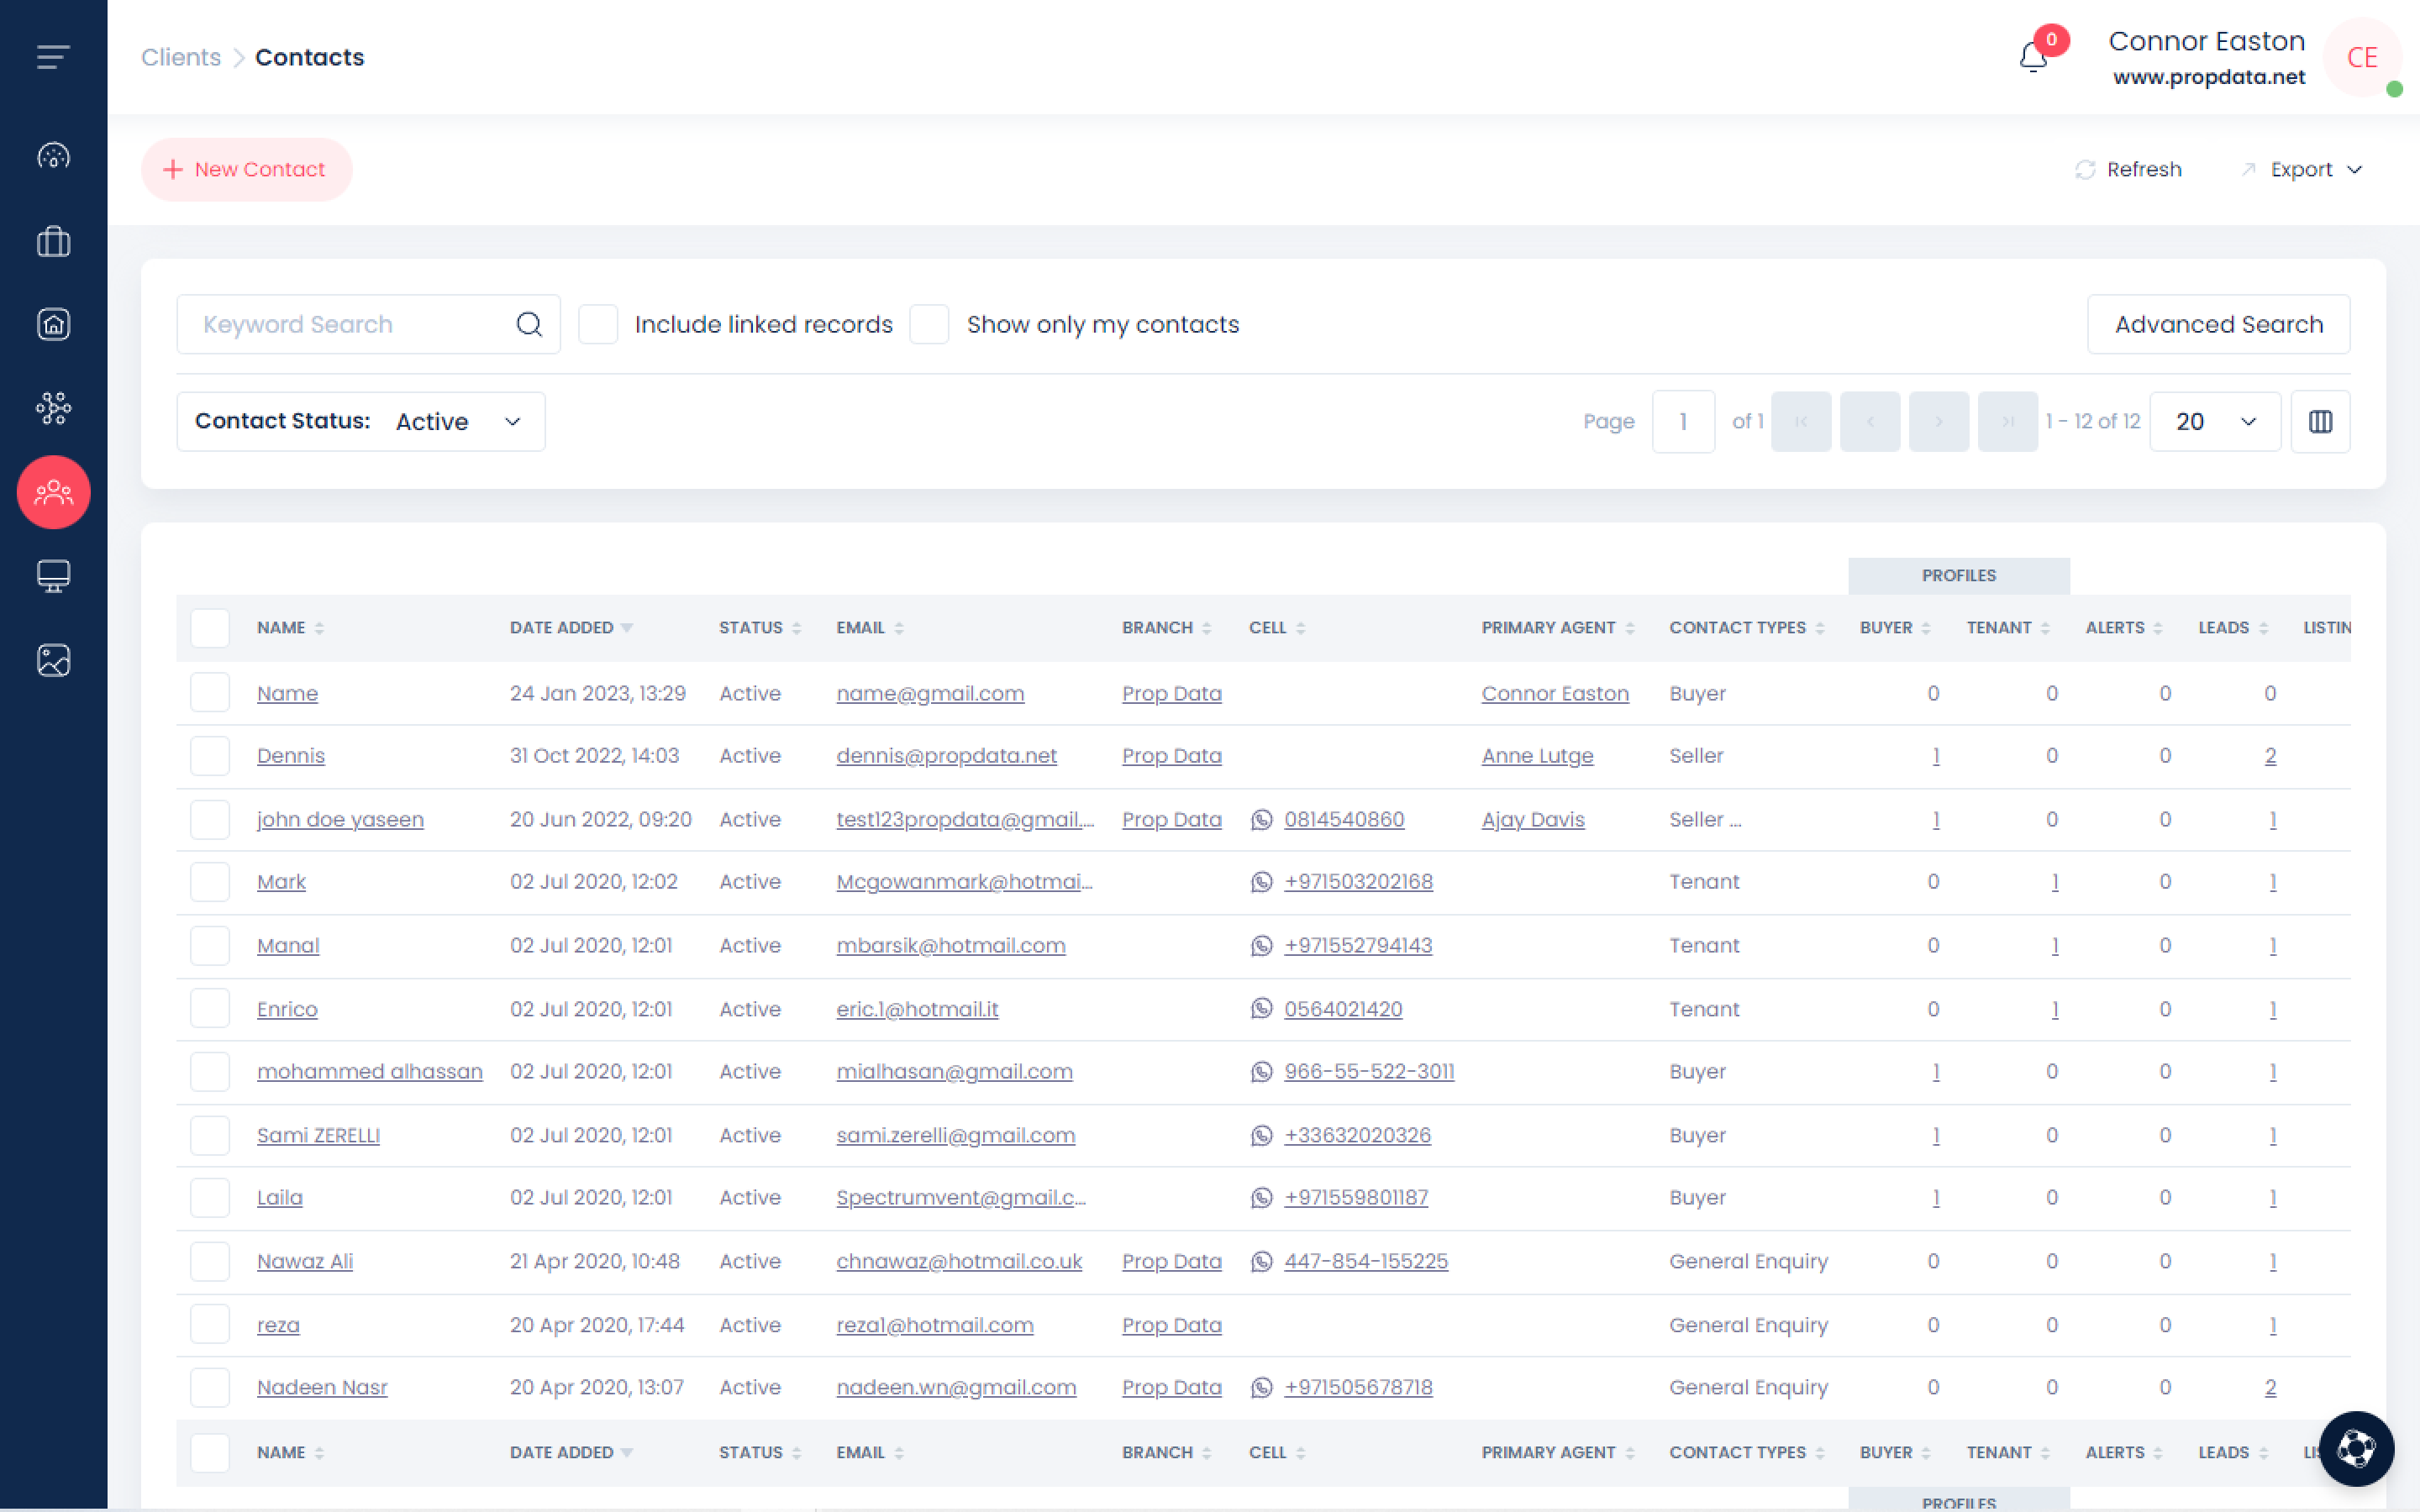
Should you need to see more information on a specific contact, edit a contact or update their information, you can do so from the contact summary page (see above image) by clicking on their name in the first column, which will then take you to a new page where you can view the contact dashboard and make changes (more information on editing contacts at the end of this page).
How to add a new Contact
Go to the top left corner of the contact summary page and click on ‘New Contact.’
.png)
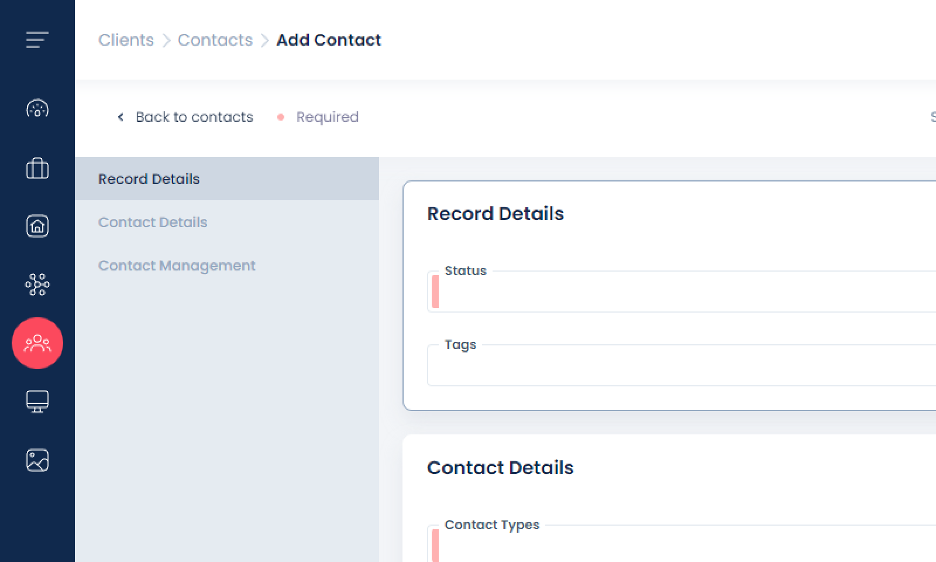
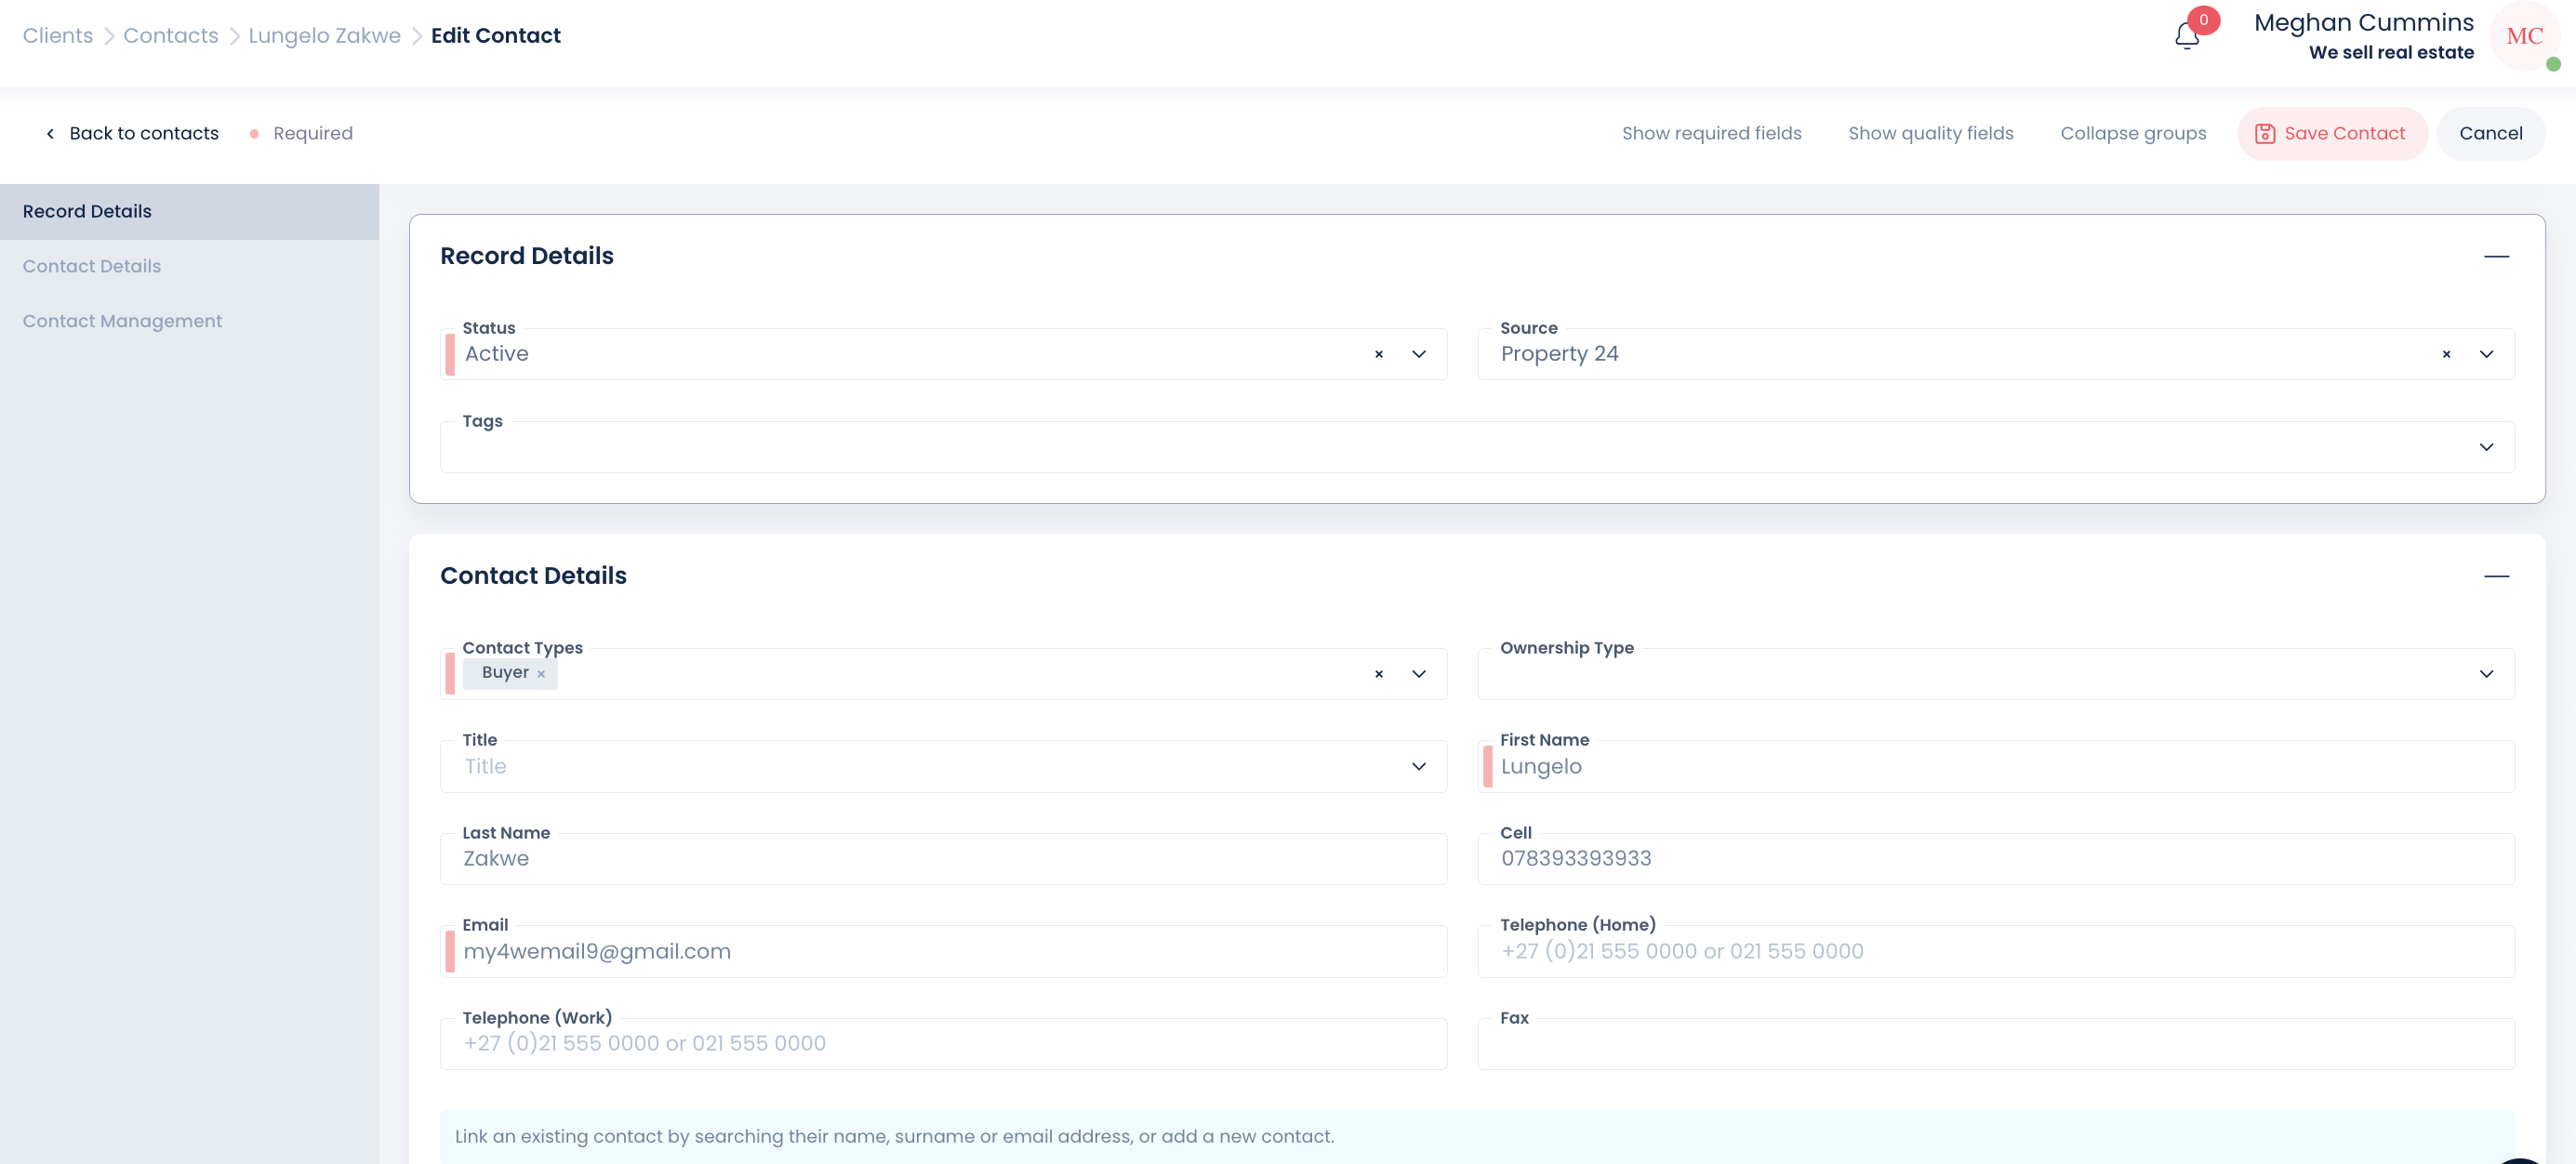
You will now see a form with three tabs on the far left - record details, contact details and contact management.
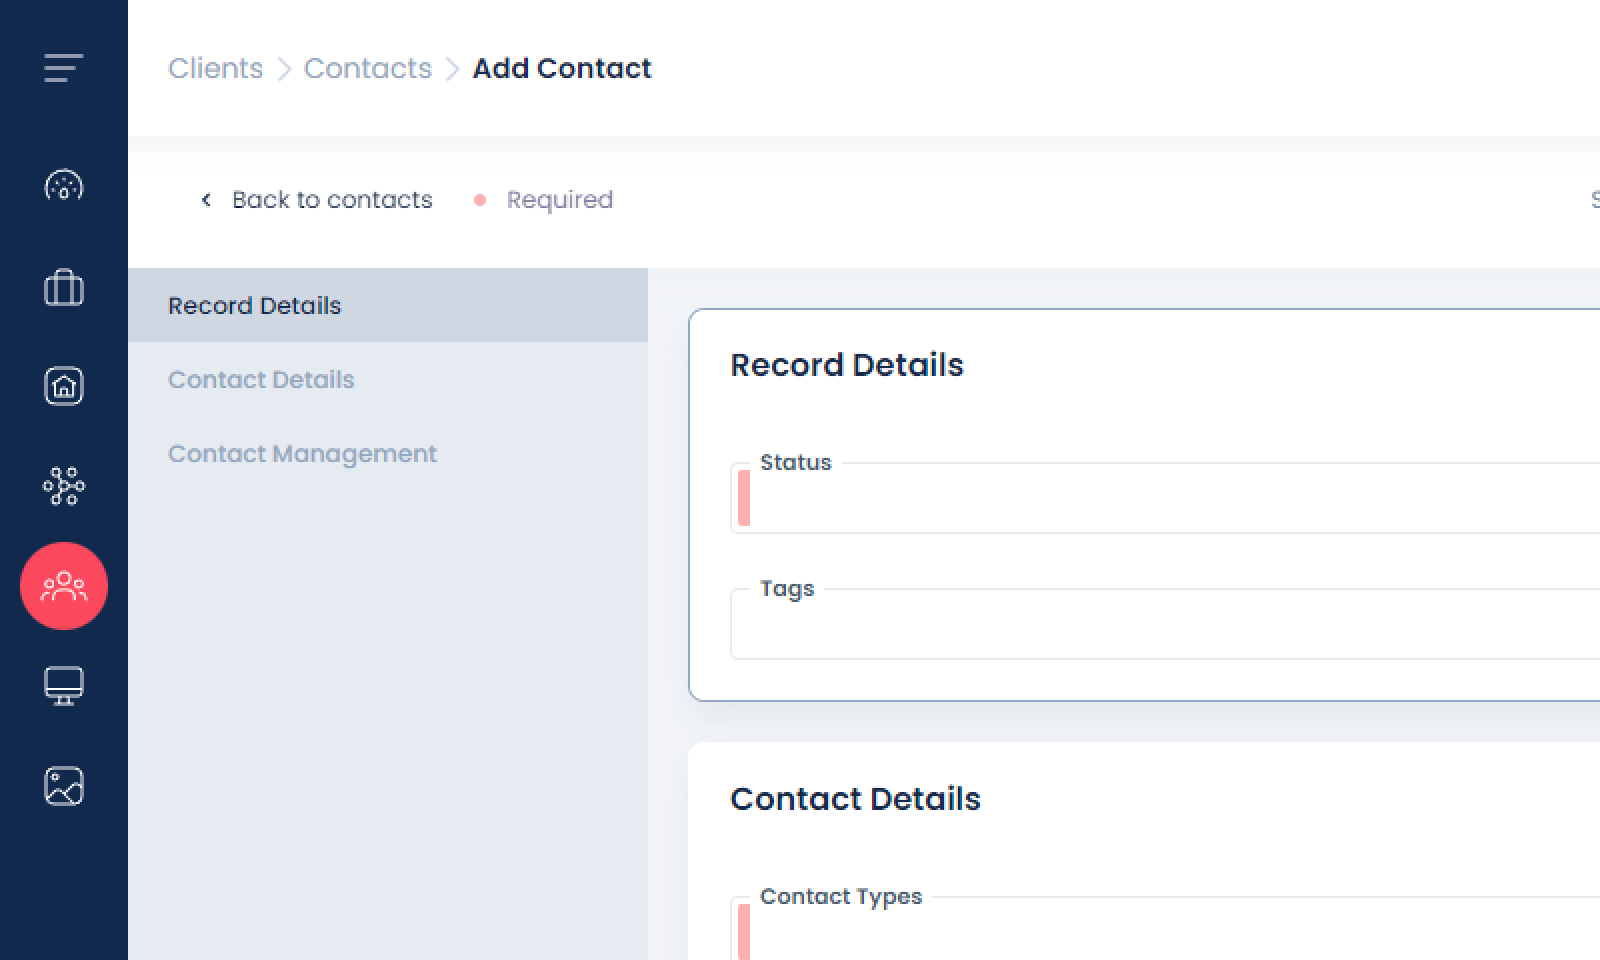
Fill in all the fields with as much information as possible. Remember to fill in all the required fields highlighted in Red.
You are also able to link your contact with another contact on the system (i.e they may be husband or wife or two people sharing a property) under the ‘Linked Contact’ field.
Once you have completed all necessary fields, you can save your new contact by clicking Save Contact at the top right hand corner of the page.
.png)
How to add a new Contact - Attorney
Go to the top left corner of the contact summary page and click on ‘New Contact.’ – OR on the Main Dashboard click on + New Contact
You will now see a form with three tabs on the far left: Record Details, Contact Details and Contact Management.
Fill in all the fields with as much information as possible. Remember to fill in all the required fields highlighted in Red.
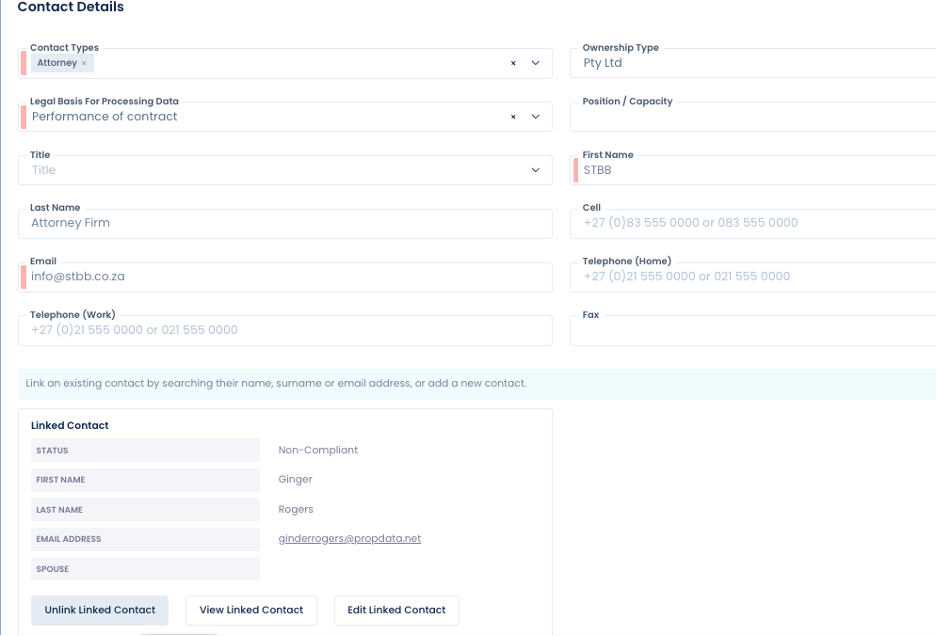
Contact type = Attorney
For the Attorney contact record it is VERY IMPORTANT to select an Ownership Type – this is not a Required field, therefore, it is very important to remember to select an Entity type when capturing the attorney firm contact record.
When this field is selected, further down in the contact record you will be required to add the entity name.
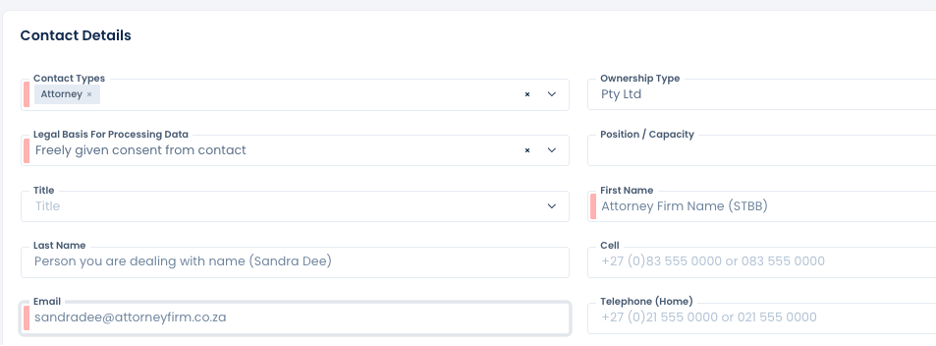
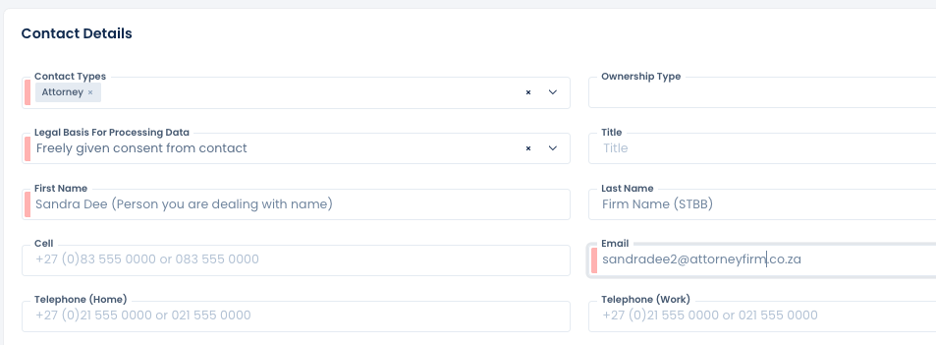
Recommended capture info for the Attorney Firm Contact record =
First Name = STBB
Surname = (if required, not a mandatory field)
email = info@stbb.co.za (persons actual email address – this is where the instruction will send if sent from the system)
Remember to ensure ownership Type has been selected
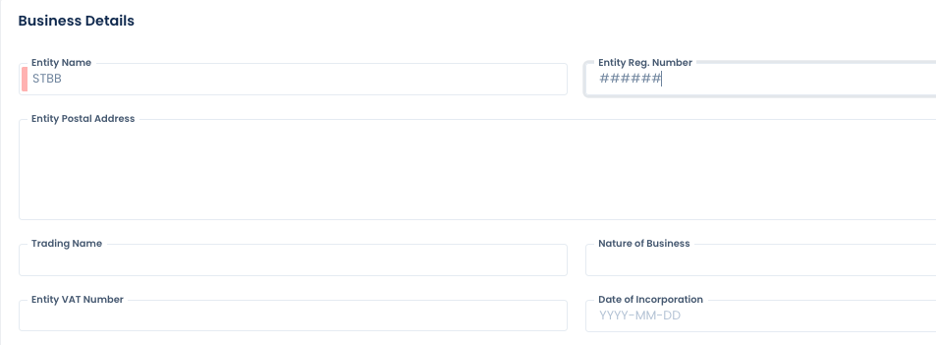
When this field is selected, further down in the contact record under Business Details you will be required to add the entity name.
Once you have completed all necessary fields, you can save your new contact (Attorney FIRM) by clicking Save Contact at the top right hand corner of the page.
Capture another attorney contact record with the PERSON’S contact info that you are dealing with, see below – only need to do this if the person you are dealing with does not have an existing contact record in the branch database. You may have to use the firm reception email address or "dummy" email address as system only allows one contact record per unique email address.
Return to the Attorney FIRM contact record & link the person you are dealing (I.E the actual attorney or conveyancing secretary you are working with) with to the attorney firm contact record, there must be at least one person linked to the attorney firm contact record.
Remember to know /check your User Groups permissions – with regards viewing all, unassigned, associated or own Contacts in the branch
When loading a deal you can search or select the relevant Attorney FIRM contact record in drop down box & link the FIRM to the deal.
just before you select the correct firm you will see the email address that will receive the deal instruction should you send from the system

Contact Records are unique per branch so if you are dealing with the same attorney firm & person for deals in 2 different offices, the contact record needs to be captured in both branches.
How to edit an existing Contact
On the contact summary page, locate your contact by searching for them in the Keyword Search bar.
.png)
Once you have found the contact, click on their name, by placing a tick in the checkbox to the left of their name, shown in the example below.
Once selected, you can now view the menu options that will appear on your top right:

From this menu, select Edit from the menu shown above.
When you select Edit, you will be able to amend any field pertaining to your selected contact on the form that follows, shown below:
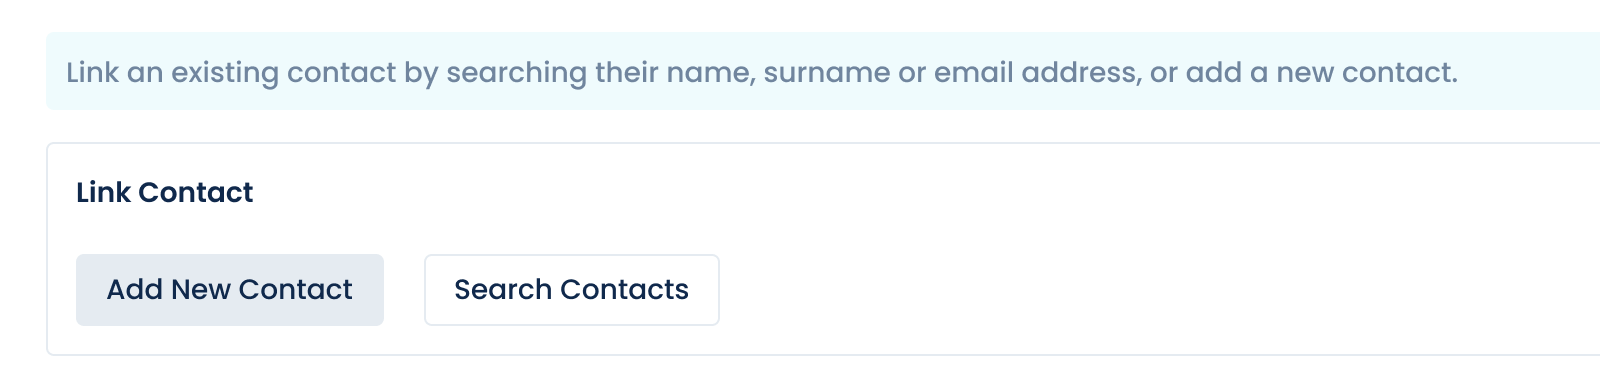
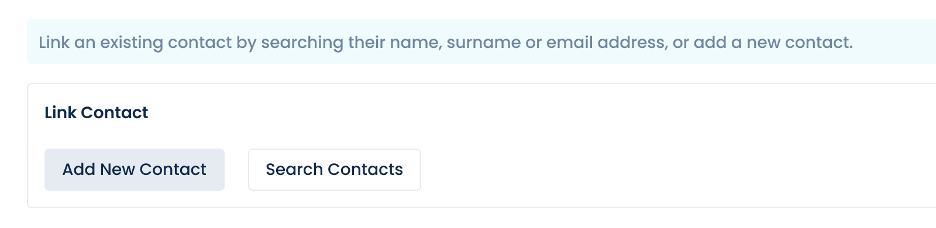
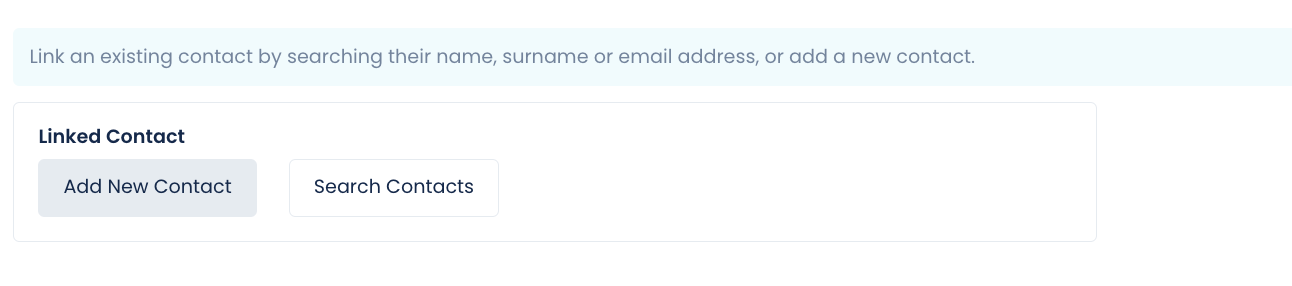
There is also a functionality under Edit whereby you can link an existing contact that is either already on the system or that you want to add to the system at the same time. The purpose for this could be to perhaps link a husband and wife who are interesting in purchasing the same property. The way to do this is to click on Add New Contact under the Linked Contact section shown below. It will then bring up a New Contact form to fill out, where you would add all the contact details of the client. Should the contact that you want to link already be on the system, you can find them by selecting Search Contacts
View
View will allow you to view certain details pertaining to the contact you have selected. A drop down menu will appear, shown below:

You can select to view Details or Activity. Details will show you all the details pertaining to that specific contact. Activity shows you all the changes made to the contact by other users.
Dashboard
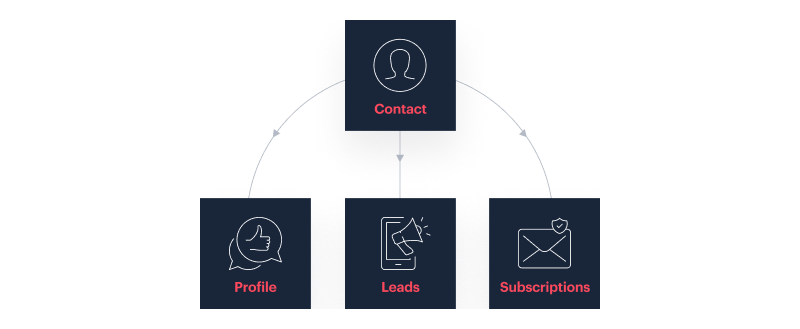
Clicking on Dashboard will allow you to view all the updates and information pertaining to your contact, as shown below. You will be able to view all latest leads that the specified contact has made on a property and at what stage of the Lead Stage Flow they are at (for more information on Lead Stage Flow please visit the Leads section of this training guide). You will also see all the profile types that have been created by the system for the specified contact i.e buyer/seller/tenant profiles. This will include the profiles price range and property type they are looking for.
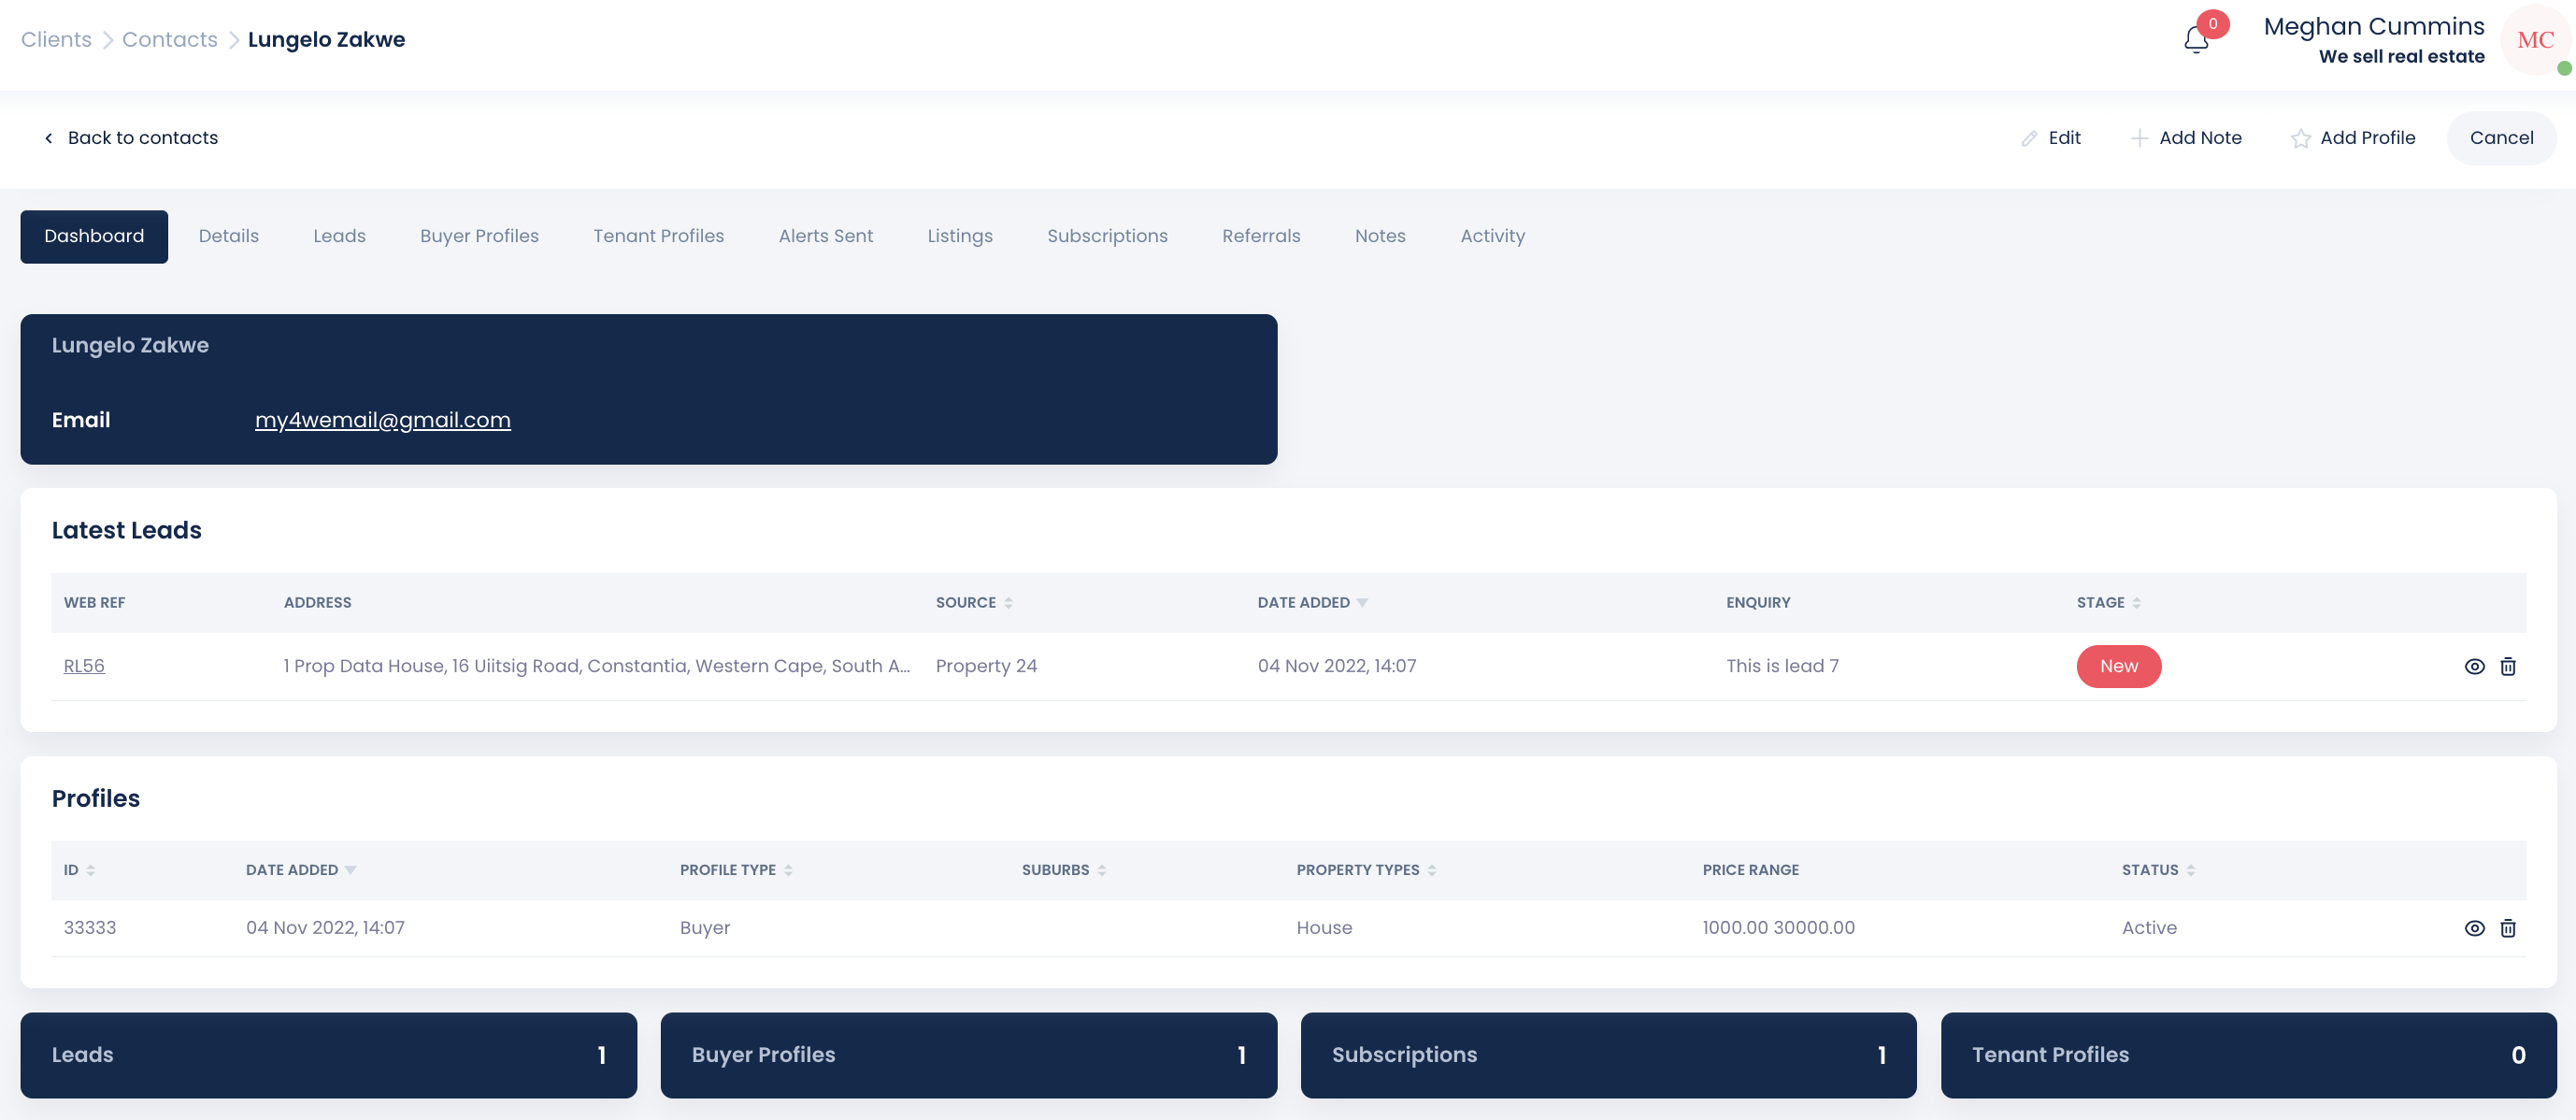
On your Dashboard you will also have access to the Contact record tabs, shown below. This will give you further insight into your Contact.
Contact Record Tabs
Details
The Details tab shows:
Record details of the contact - when they were added onto the system
Contact details - name, email address
Communication preferences - here you will see your contacts' communication preferences and how we are able to use their information.
Leads
Here you will see how many leads there are for your contact and the stage they are at in the communication process (also called the Lead Stage Flow). Here you can update and log any communication by clicking this icon (you can see a detailed overview on how to update the Lead Stage Flow in the Leads section of this module).
Buyer profiles
If a buyer profile has been created by the system for your contact, you will see the detail under this tab.
Tenant profiles
If a Tenant profile has been created by the system for your contact, you will see the detail here.
Alerts sent
This tab shows the number of alerts sent to your contact, if they have opted in to receive alert communication.
Listings
Specific listings relevant to your contact.
Subscriptions
If your contact has subscribed to receive property alert notifications, the detail on these will appear under this tab.
Referrals
This section shows all referrals that your contact is associated with. If any other agent has referred them to you, the details of this referral will show here, including when the referral was made and where it came from.
Notes
If there are any general you need to add regarding your contact, you can add them under this tab. Only the people who can view this contact can view the notes.
Activity
This will show all updates and changes made to this contact, when they were made and by whom.
Copyright © 2023 Prop Data (Pty) Ltd Privacy Policy